
Your first Unity project starts here
How to Learn Unity?

Content
Over 50% of mobile games run on Unity—you've probably played several this week without realizing it. The platform dominates the indie scene for reasons beyond just popularity.
Here's what matters most: Unity Personal costs nothing. Zero dollars until your game pulls in $100,000 yearly. That's not a trial period or feature-limited version—it's the full engine. I've met developers who shipped commercially successful titles without spending a cent on licensing.
Build once, deploy everywhere. That's the actual workflow. Your 2D platformer can launch on Steam, then iOS, then Nintendo Switch using the same codebase. Sure, you'll tweak controls and adjust UI scaling, but you're not rewriting systems for each platform. Small teams can't afford to build separate versions—Unity solves this problem elegantly.
The Asset Store changes everything for learners. Need a dialogue system? Download one for $20 instead of spending two months building from scratch. You'll find 70,000+ assets including character controllers, inventory frameworks, and complete starter projects. Studying these working systems teaches you faster than blank-slate development. Just don't become dependent—understanding what you're using matters more than having it.
C# runs Unity's scripting layer. If you've touched any modern programming language, C# feels familiar. It's significantly friendlier than C++ while maintaining enough power for complex games. The syntax reads almost like English in places, and Microsoft's documentation is exceptional.
Companies like Niantic (Pokémon GO), Innersloth (Among Us), and miHoYo (Genshin Impact) built massive hits with Unity. Your beginner skills align with professional workflows, which means every hour invested develops marketable expertise.
Setting Up Your First Unity Project: Installation to Interface
System Requirements and Editor Installation
Unity Hub manages everything—different engine versions, project organization, module installation. Grab it from unity.com and you're starting right. Your first version should be Unity 2022 LTS. The "Long Term Support" label means stability over bleeding-edge features, which matters when you're still learning where buttons are.
Can you run Unity on a basic laptop? Technically yes with 8GB RAM and integrated graphics. Will you enjoy that experience? Absolutely not. Lag spikes when dragging objects around get old fast. Target 16GB RAM minimum, preferably a dedicated GPU with 4GB VRAM. Unity loves fast storage too—those SSD prices dropped enough that spinning hard drives are false economy here.
The Hub installer presents platform modules. Building for Android? Check that box. iOS development? Grab that module. Install Visual Studio Community as your code editor unless you've got strong opinions about development environments already. Documentation should install locally—internet outages happen at the worst moments, and offline docs save you.
Creating your first project means choosing templates. You'll see 2D, 3D, 2D URP, 3D URP, and several others. Ignore URP templates initially. Universal Render Pipeline offers prettier graphics but adds conceptual overhead you don't need yet. Pick basic 2D or basic 3D depending on your game vision, nothing fancier.

Author: Megan Lewis;
Source: quantumcatanimation.com
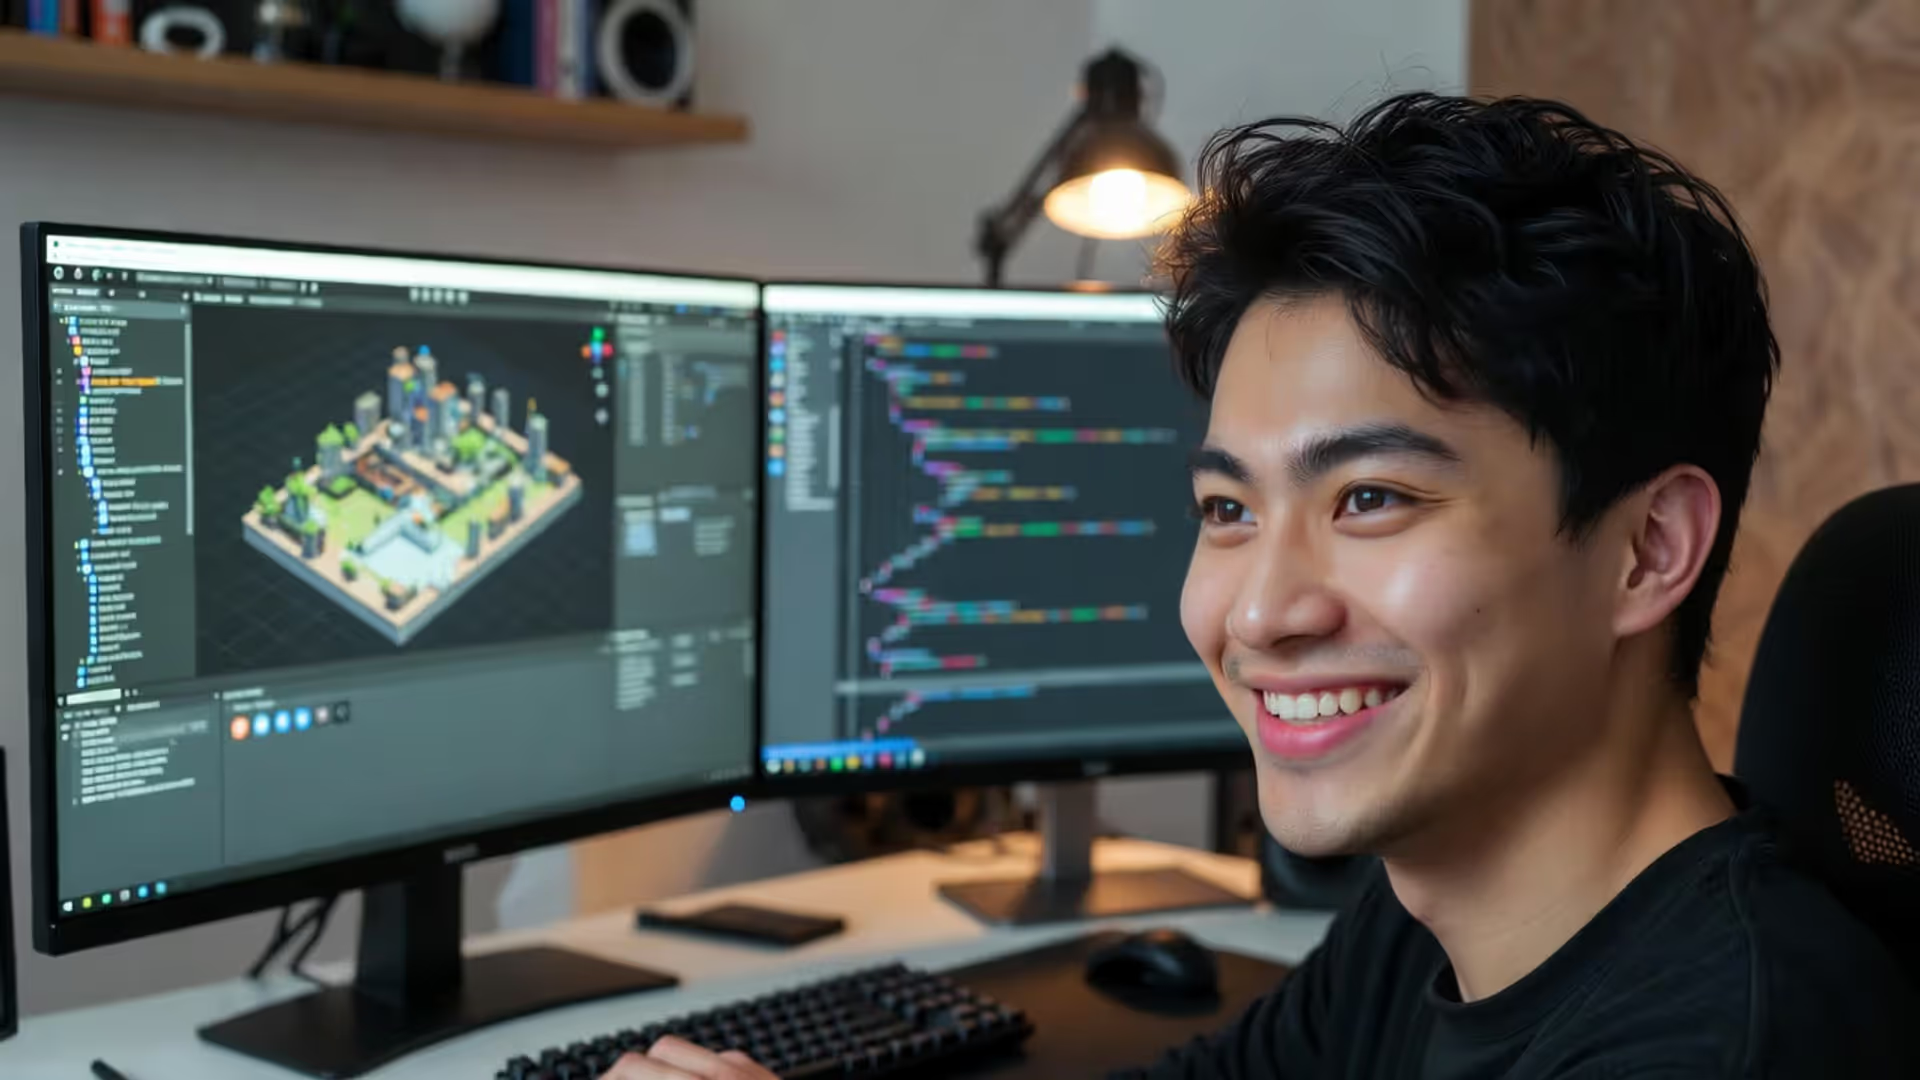
Navigating the Unity Editor Layout
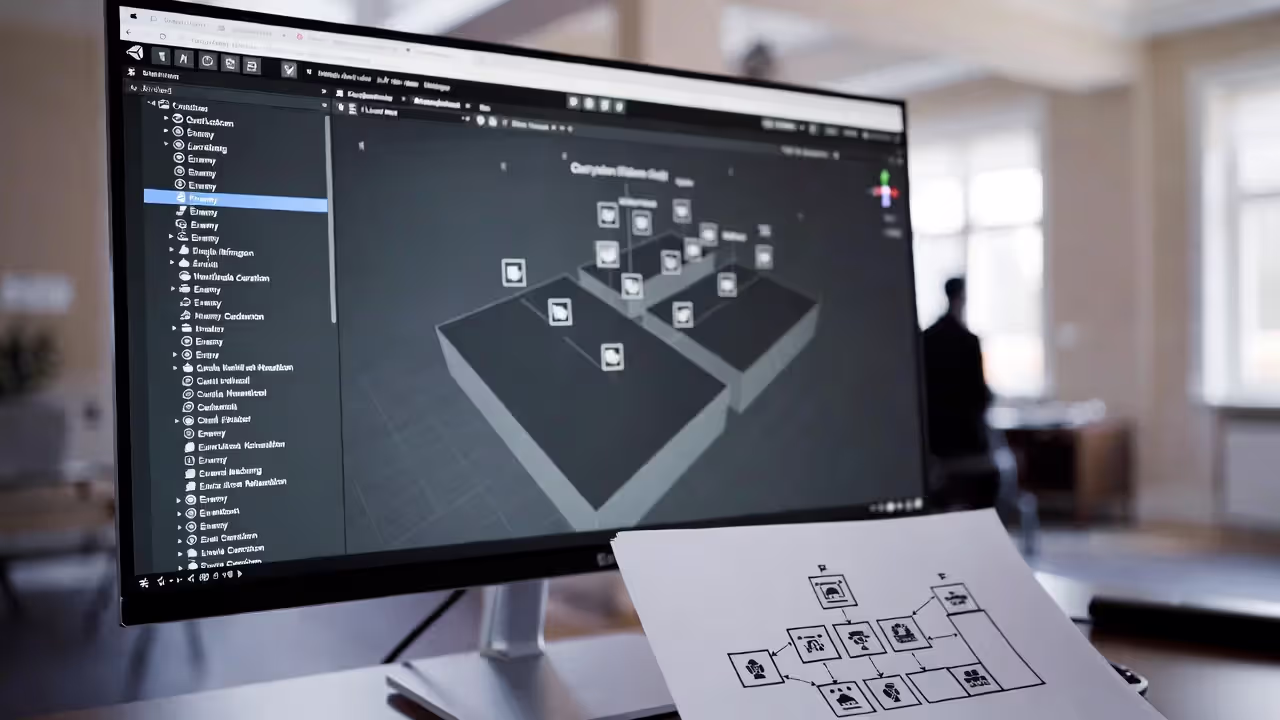
Five windows dominate your screen by default. Scene view shows your game world from developer angles—fly around, zoom in, position objects. Game view shows what players see through the camera. Hierarchy lists every object in your current scene as an expandable tree. Inspector displays properties for whatever you've selected. Project window organizes all your files—scripts, images, sounds, prefabs.
Drag these windows anywhere. Seriously, customize immediately. My setup keeps Scene and Game side-by-side on my main monitor, Hierarchy and Inspector stacked on the left side of my secondary display, Project window filling the bottom. Save your layout through Window > Layouts > Save Layout once you've found something comfortable.
Toolbar buttons across the top control transform tools: Hand tool for panning, Move, Rotate, Scale, Rect Transform, and the Transform combo tool. Learn these hotkeys today: Q, W, E, R, T, Y. Clicking toolbar buttons repeatedly wastes cumulative hours across projects. Muscle memory matters.
Right-clicking opens context menus. Right-click in Hierarchy to spawn GameObjects. Right-click in Project to create scripts, folders, materials. These shortcuts keep you moving instead of hunting through dropdown menus.
Core Unity Concepts Every Beginner Must Understand
GameObjects, Components, and the Inspector
Everything visible (and much that isn't) exists as a GameObject. Your player character? GameObject. The camera? GameObject. That invisible zone that triggers the level-end sequence? Also a GameObject. They're containers—empty boxes with no inherent behavior.
Components bolt onto GameObjects to add functionality. Think Lego blocks snapping onto a base plate. A "Player" GameObject might wear a Sprite Renderer component (shows the image), Rigidbody2D component (enables physics), Box Collider 2D (defines collision shape), plus your custom PlayerController script component (reads input, controls movement).
Select any GameObject and the Inspector reveals every attached component with adjustable properties. Sprite Renderer lets you swap images. Rigidbody2D lets you adjust mass and drag. Tweak numbers, see immediate results. Just remember—changes during Play mode vanish when you stop playing. This gotcha catches everyone once. Make important adjustments in Edit mode or frantically screenshot your values before clicking Stop.
Scripts are components you create. Generate a new C# script, attach it to a GameObject, write code. Unity executes Start() once on initialization, Update() every frame, and specialized methods like OnCollisionEnter2D() during physics events.

Author: Megan Lewis;
Source: quantumcatanimation.com
Scenes, Prefabs, and Asset Management
Scenes represent saved collections of GameObjects—levels, menus, loading screens. Main menu lives in one scene file, Level 1 in another, Level 2 in a third. SceneManager handles transitions between them, forming the backbone of game structure.
Prefabs solve the duplication problem beautifully. You've built an enemy GameObject with five components, spent an hour tuning values, tested thoroughly. Now you need 20 enemies across different levels. Dragging that enemy from Hierarchy into Project creates a prefab—a reusable blueprint. Edit the prefab and all 20 instances update automatically. No manual syncing across copies.
Project organization separates functional developers from chaotic ones. Create folders day one: Scripts, Sprites, Audio, Scenes, Prefabs, Materials, Animations. By week three you'll have 200+ files. Without folders, finding anything becomes archaeological work. Name things descriptively: "PlayerIdleAnimation" beats "anim_001" every time.
Unity auto-imports assets dropped into Project. Drag a PNG file into your Sprites folder and Unity converts it. Drop an MP3 into Audio and it becomes usable. This feels magical until import settings go wrong—always check the Inspector after importing to verify sprite pixels-per-unit, compression settings, and audio quality match your needs.
Author: Megan Lewis;
Source: quantumcatanimation.com
Your First 30 Days: A Practical Unity Workflow for New Developers
Your first month needs structure without rigidity. Here's a realistic breakdown that accounts for actual human learning curves:
| Week | Learning Focus | Tutorial Resources | What You'll Build | Daily Time |
| 1 | Editor navigation, basic object manipulation | Unity Learn platform's Essential pathway | Confidence moving around workspace, creating and positioning objects | 60-120 minutes |
| 2 | 2D game fundamentals, sprite handling | Brackeys' complete game tutorial series | Character that responds to arrow keys, jumps on spacebar | 90-120 minutes |
| 3 | C# scripting basics, input handling | Unity Learn's intro to scripting modules | Objects that react when clicked, simple enemy movement patterns | 2-3 hours |
| 4 | Full game completion workflow | GameDev.tv's 2D course initial project | Playable game with win/lose conditions and restart functionality | 2-3 hours |
Week one isn't about making games—it's about feeling comfortable. Move objects randomly. Change every property you find just to see what happens. Delete components deliberately. Break things on purpose. This experimentation builds intuition faster than carefully following instructions.
Week two introduces the game loop concept: read input, update positions, render frame, repeat 60 times per second. Simple movement code teaches Vector2 math, Time.deltaTime frame-rate independence, and Input.GetAxis() mechanics. Fight the urge to add features—make one thing feel excellent before adding anything else.
Week three forces you to write and modify code. Copy tutorial scripts exactly, then experiment. Change movement speed numbers. Swap keyboard inputs. Add Debug.Log() statements everywhere to print variable values and understand execution order. Programming skill develops through breaking and fixing things, not passive observation.
Week four demands completion. Your first finished game will embarrass you by month six—that's healthy and normal. Scope tiny: single screen where you collect five coins before a timer expires counts as complete. Finishing teaches crucial skills that endless prototyping doesn't: building UI, handling state transitions, and actually calling something done.
Consistency trumps marathon sessions. Thirty minutes daily beats four hours every Saturday because your brain needs processing time between sessions. Concepts solidify during sleep. Skills develop through repeated exposure, not cramming.
Common Beginner Mistakes That Slow Down Your Progress
New developers make predictable mistakes. Recognizing these patterns saves months of spinning wheels.
Scope ambition destroys momentum. You're envisioning an open-world RPG with crafting systems, branching dialogue, and multiplayer functionality. Three weeks later you've got half a movement system and zero motivation. Start embarrassingly small—Pong clones, Flappy Bird remakes, single-screen puzzle concepts. These "trivial" projects still teach collision detection, score systems, and state management.
Tutorial dependency becomes a trap. Watching 40 hours of tutorials feels productive but builds minimal real skill. Complete one series fully, then immediately build something different using those techniques. If you learned 2D movement from a platformer tutorial, apply it to a top-down game. Forced translation creates actual understanding.
Skipping documentation costs hours. Unity's API reference at docs.unity3d.com explains every built-in class with code examples. When you encounter unfamiliar components, read documentation before Googling. Official docs are frequently clearer than fragmented forum threads from 2018.
Disorganized projects compound problems. Unsorted Project folders with default GameObject names ("GameObject (23)") make debugging impossible. Invest two minutes organizing files properly—you'll recover those hours ten times over during later development.
Premature optimization wastes beginner energy. Yes, object pooling improves performance versus constant instantiation. No, your prototype with three enemies doesn't need it yet. Build functionality first, profile performance later. Unity's Profiler window reveals actual bottlenecks when they matter.
Avoiding version control guarantees disaster. Install Git and push to GitHub from day one. When you catastrophically break something (you will), reverting to yesterday's working version takes 30 seconds versus starting completely over. GitHub doubles as portfolio hosting when job hunting begins.

Author: Megan Lewis;
Source: quantumcatanimation.com
Best Unity Tutorials and Learning Resources
Unity Learn (learn.unity.com) hosts official pathways organized by skill level and project type. Their Essentials pathway includes interactive tutorials running inside the editor itself. These occasionally lag behind engine updates, but they're free and comprehensive starting points.
Brackeys' YouTube channel stands unmatched for free Unity education despite the channel ending in 2020. The existing video library spans basic movement through shader programming, all explained with exceptional clarity. His "How to Make a Video Game" series guides complete beginners through building a 2D platformer across roughly 10 hours of content.
GameDev.tv offers structured paid courses on Udemy with project files and community forums. Their "Complete C# Unity Game Developer 2D" and 3D equivalents frequently hit $15-20 during Udemy's constant sales. The investment pays back through systematic skill development and instructor Q&A access.
Catlike Coding (catlikecoding.com) publishes deep-dive tutorials for intermediate learners ready to understand underlying systems. These text-based guides demand effort but build genuine expertise in procedural generation, shaders, and advanced C# patterns. Skip these until you've completed several basic projects.
Unity forums and Reddit's r/Unity3D provide community support when stuck. Search existing threads before posting—your "unique" problem has usually been solved multiple times already. When asking questions, include code snippets, describe expected versus actual results, and mention what you've already tried.
Jason Weimann's YouTube channel emphasizes clean code practices and professional workflows missing from beginner tutorials. His "Common Mistakes" videos prevent bad habits from solidifying early.
Sebastian Lague creates visually stunning tutorials making complex topics like procedural terrain or pathfinding approachable. His production quality and explanation style click difficult concepts into place.
Real Indie Unity Projects: What Beginners Actually Built
Successful indie Unity projects reveal realistic scope decisions and smart feature choices worth emulating.
Hollow Knight began as a Kickstarter from a three-person team with no prior commercial releases. They focused relentlessly on tight 2D combat, atmospheric art, and extensive content rather than technical wizardry. The game used exclusively Unity's 2D toolset, proving 3D skills aren't required for commercial success.
I spent two weeks just making the character jump feel perfect. Everything else in the game built on that foundation. If moving around feels bad, nothing else matters.
— Thomas Brush, who created Pinstripe and Never Song
Cuphead famously required seven years, but the team spent most of that time on hand-drawn animation rather than Unity complexity. The actual game mechanics—run-and-gun shooting with boss patterns—are straightforward implementations. They proved exceptional execution of simple systems beats mediocre implementation of complex ones.
Pattern recognition across beginner success stories reveals: - Constrained level design (single-screen or small, focused stages reduce content creation burden) - One core mechanic perfected (depth beats breadth consistently) - Art direction matching skill limits (stylized graphics age better than attempted realism) - Completion timelines of 3-6 months (maintains motivation through visible weekly progress)
Portfolio building matters more than individual project ambition. Three polished, complete small games demonstrate greater skill than one half-finished ambitious prototype. Employers and players both value execution over ideas.
Your first shipped project should target game jams—Ludum Dare, Global Game Jam, GMTK Game Jam. Strict time constraints (typically 48-72 hours) force scope discipline and guarantee completion. Hundreds of developers play and rate submissions immediately, providing direct feedback. Many successful indie studios began as game jam teams who continued collaborating.
Frequently Asked Questions About Learning Unity
Building games in Unity rewards consistent effort over natural talent. Developers shipping successful projects aren't necessarily the smartest or most creative—they're the ones who showed up daily, finished small projects, and learned from each iteration.
Your first month establishes habits determining long-term success. Prioritize finishing over perfecting. Ship embarrassingly simple games rather than abandoning ambitious prototypes. Join communities where other beginners share progress—accountability and peer feedback accelerate growth dramatically.
The Unity ecosystem changes constantly with new features and evolving best practices emerging yearly. This guide provides your foundation, but real education comes from building, breaking, and rebuilding projects repeatedly. Every error message teaches something valuable. Every completed game, however basic, proves you can execute from concept to shipped product.
Start smaller than feels reasonable. Finish more than seems necessary. Your tenth game will astound you compared against your first. The gap between beginner and professional measures in completed projects, not years or innate talent. Open Unity Hub right now, create a new project, and build something today.