How to Build the Perfect Gaming Desk Setup for Performance and Comfort
How to Set Up a Gaming Desk?

Content
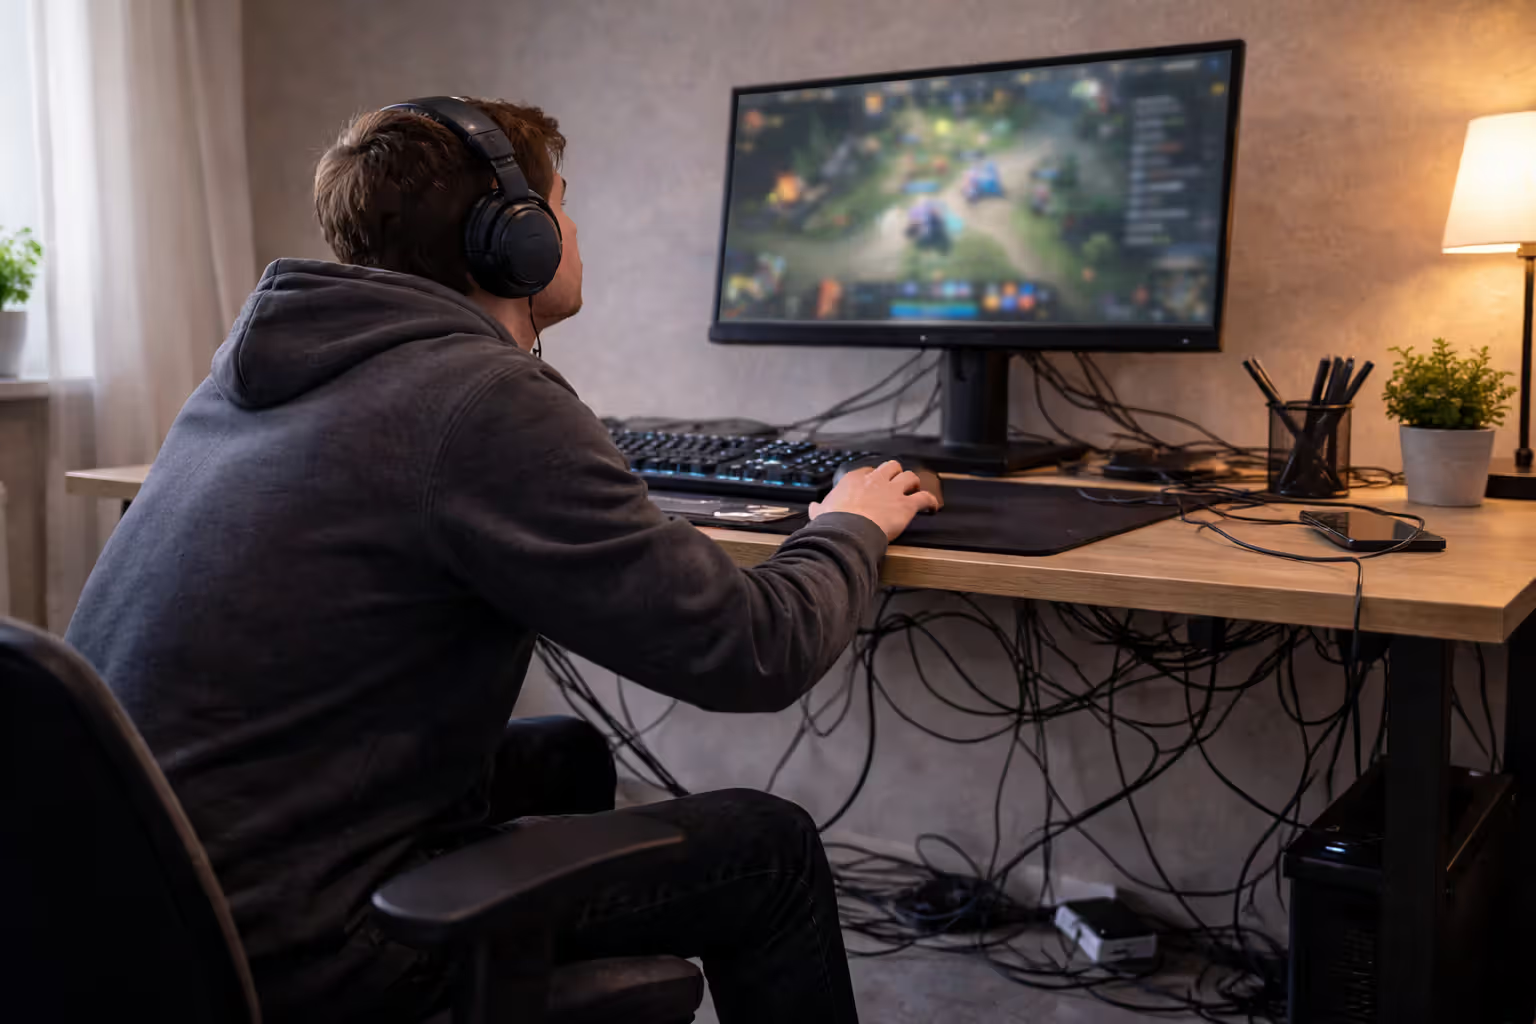
Here's what nobody tells you about gaming desk setups: you'll probably get it wrong the first time. Maybe your monitor sits three inches too high and gives you headaches. Maybe you've got a rat's nest of cables choking the space behind your desk. Or maybe—and this happens more than you'd think—your mouse runs out of room halfway through a 180-degree turn because you didn't account for low-sensitivity aiming.
I've watched friends drop $2,000 on equipment, then hunch over their keyboard like a question mark because they never measured desk height. The gear works fine. The space doesn't.
Your workspace affects everything: reaction time, comfort during six-hour sessions, whether you rage-quit from frustration or actual gameplay. A dialed-in setup feels invisible. You're not thinking about your sore neck or which cable just came unplugged—you're thinking about the match.
Let's fix your space before you waste months tweaking it.
Essential Components Every Gaming Desk Setup Needs
Desktop surface size and material considerations
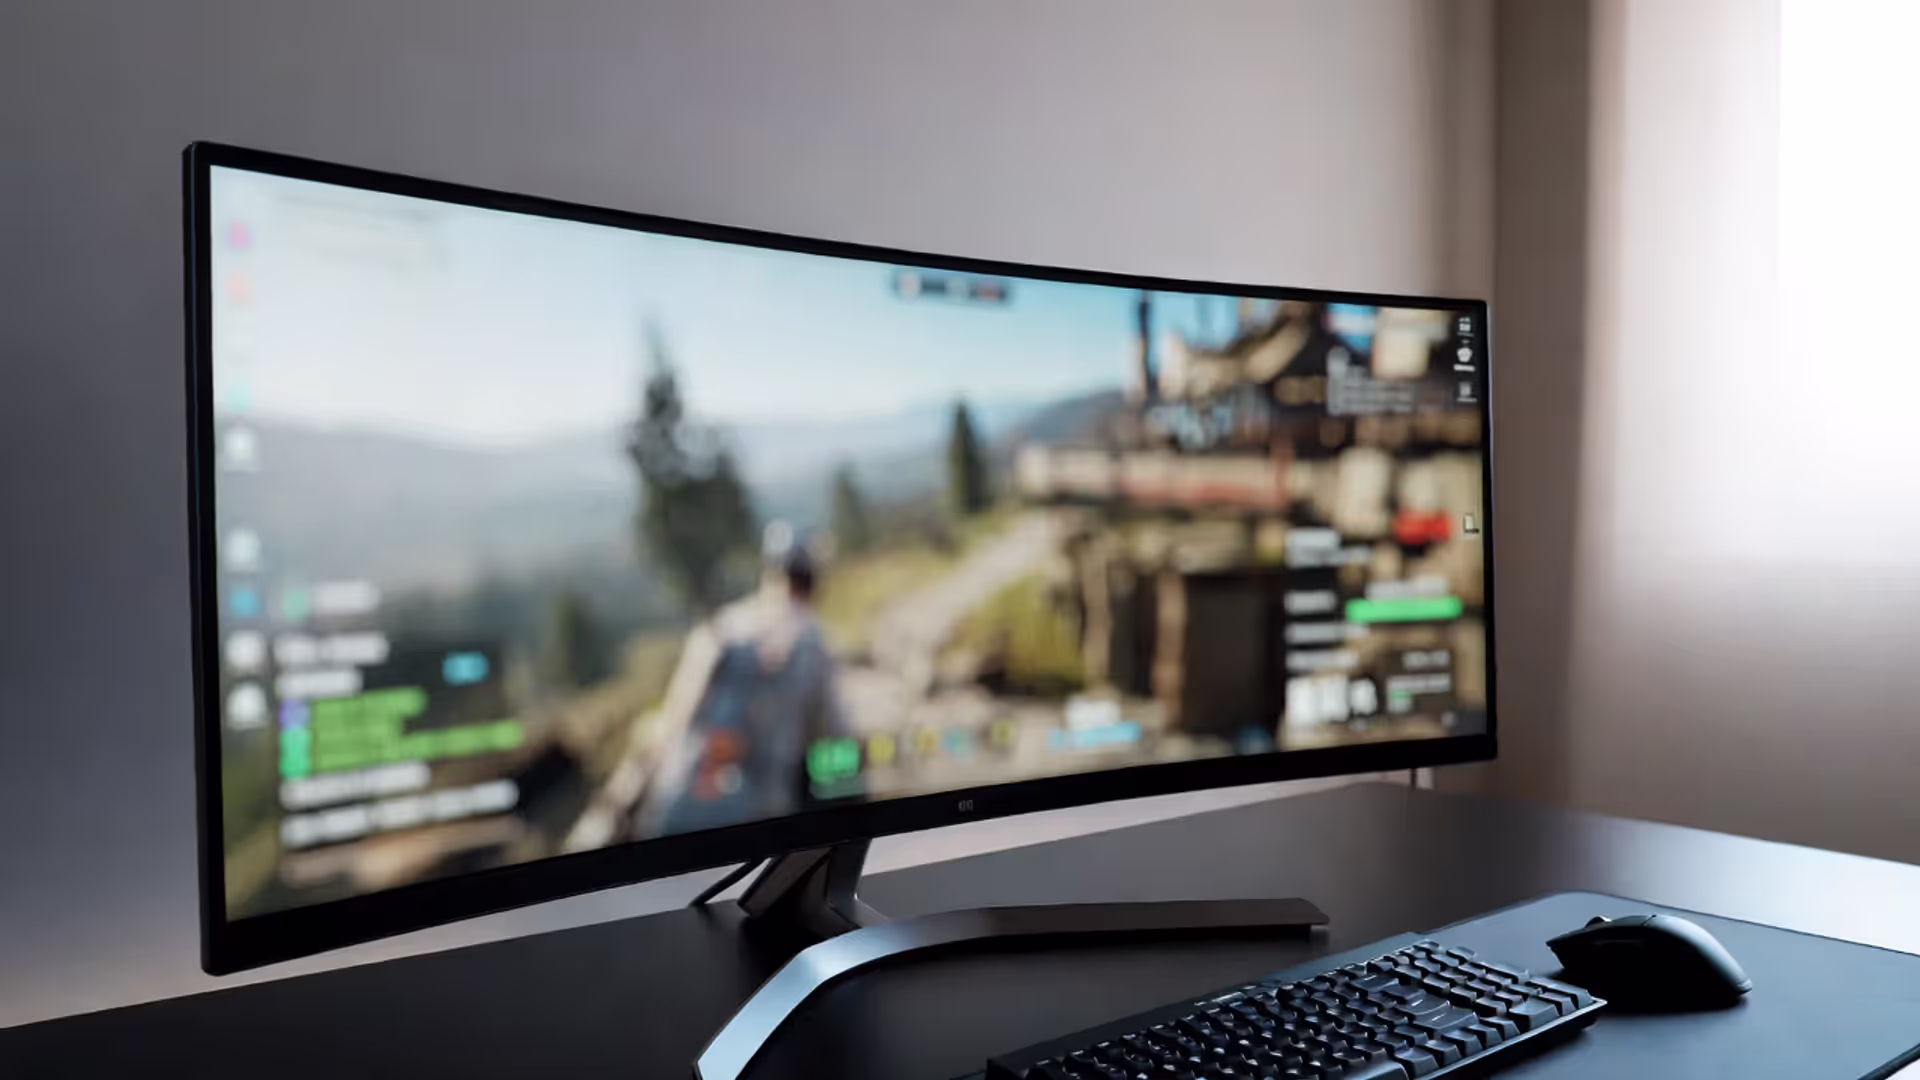
Start with width. Got a single 24-inch monitor? A 48-inch desk barely fits it plus your keyboard and mouse. Planning dual monitors? You'll need 60 inches minimum, and that's tight. I'd go 72 inches if your room allows it—the extra space saves you from that cramped feeling where everything's packed edge-to-edge.
Depth separates functional desks from ones that force bad posture. Anything under 24 inches deep pushes your screen too close. You want 30 inches, which creates breathing room for a mic arm, speakers, or just enough space that you're not kissing your monitor. I learned this the hard way with a 22-inch deep Ikea special that had my nose eight inches from the screen.
Author: Megan Lewis;
Source: quantumcatanimation.com
Material matters more than it should. Particle board? Fine for light use, but clamp a dual monitor arm onto it and watch it slowly compress over six months. Solid wood costs double but actually holds hardware without bowing. Butcher block looks fantastic on camera if you stream. Glass tops are terrible—every fingerprint shows, your keyboard sounds like a drum solo, and mounting anything requires special clamps that still might crack the surface.
Thickness determines what you can attach. Most monitor arms need 0.75 inches minimum to clamp securely. My current desk is 1.75 inches thick, and I've got a monitor arm, cable management tray, and mic arm all clamped without issue. Thin desks limit your options fast.
Monitor placement and mounting options
Remember that "arm's length" rule everyone mentions? It's oversimplified. Sit naturally. Reach out without leaning forward. Your fingertips landing roughly at screen center means you're in the ballpark for viewing distance. Closer for higher resolutions (you can sit nearer to 1440p without seeing pixels), farther back for massive ultrawides.
Author: Megan Lewis;
Source: quantumcatanimation.com
Height causes most neck problems. Standard advice says "top of screen at eye level," but that's for office work. Gaming while slightly reclined? You'll want the center of your screen at eye level instead, maybe even slightly below. Competitive FPS players sometimes go lower to minimize vertical eye movement during flick shots.
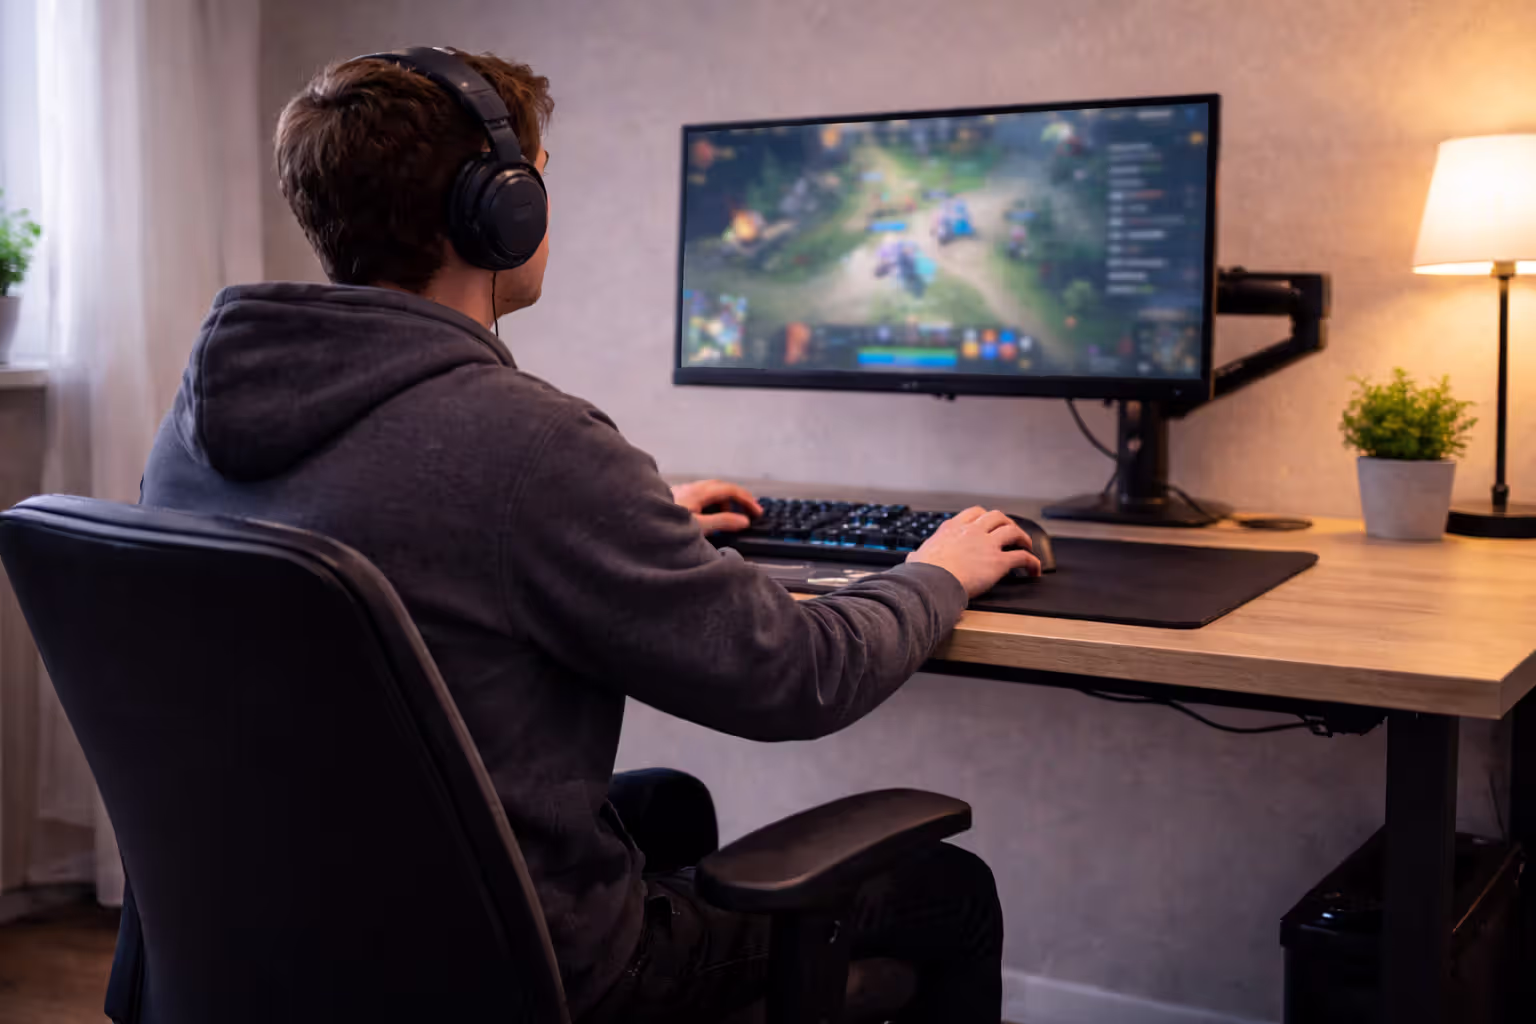
Monitor arms changed my setup more than any other $40 purchase. Suddenly I could pull my screen forward for strategy games, push it back for shooters, raise it for standing, lower it for lounging. The VIVO single arm I bought three years ago still works perfectly. Gas spring models adjust smoothly—avoid friction-only arms that require loosening screws every adjustment.
Keeping the stock stand? Build or buy a riser. Stacking textbooks looks terrible and wobbles. A proper wooden riser costs $25-50 and creates storage underneath for your keyboard when you're using a controller.
Peripheral positioning basics
Your keyboard needs to align with your body's center, not your desk's edge. Most people align to the desk corner and end up twisted slightly left for hours. Position yourself first, then place the keyboard so the center keys (between G and H) line up with your sternum.
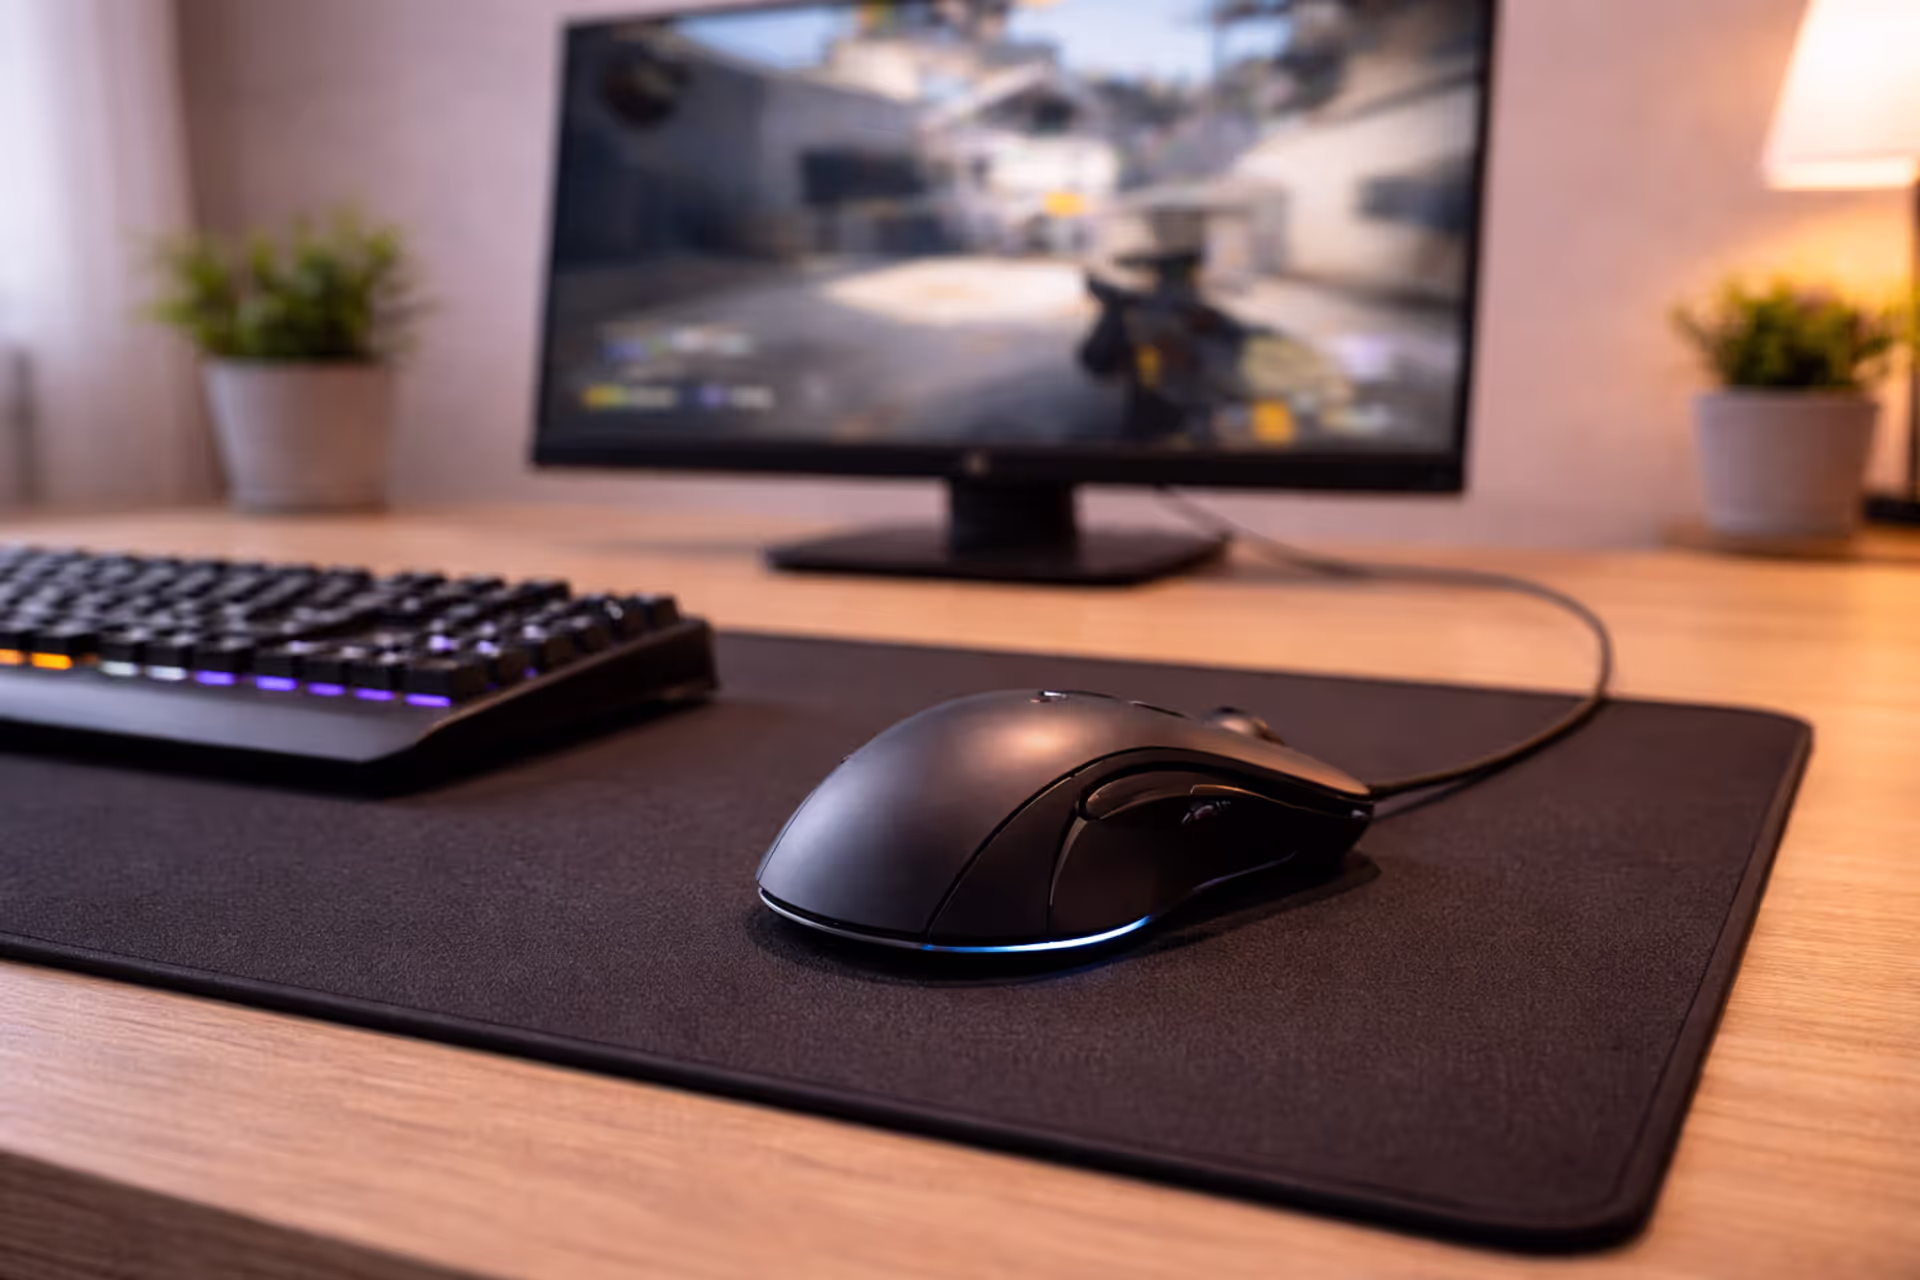
Mouse space gets shortchanged constantly. Low-sens players need 16+ inches of horizontal movement for a full swipe. I play at 400 DPI/2.5 sensitivity in most shooters, which requires a 36-inch mousepad to avoid running out of room mid-spray. High-sens players can work in less space, but give yourself buffer room anyway.
Angle your keyboard about 15-20 degrees if you need extra mouse space. Straight keyboard plus massive mousepad often means your mouse hand sits uncomfortably far right. A slight angle opens space while keeping your typing position natural.
Controllers need homes too. When I switched between Elden Ring (controller) and Valorant (KBM), my controller would just... sit there on my mousepad, in the way. Now it lives on a small shelf under my desk, charged and ready, not cluttering my surface.
Cable Management Gaming Solutions That Actually Work
Under-desk cable trays and raceways
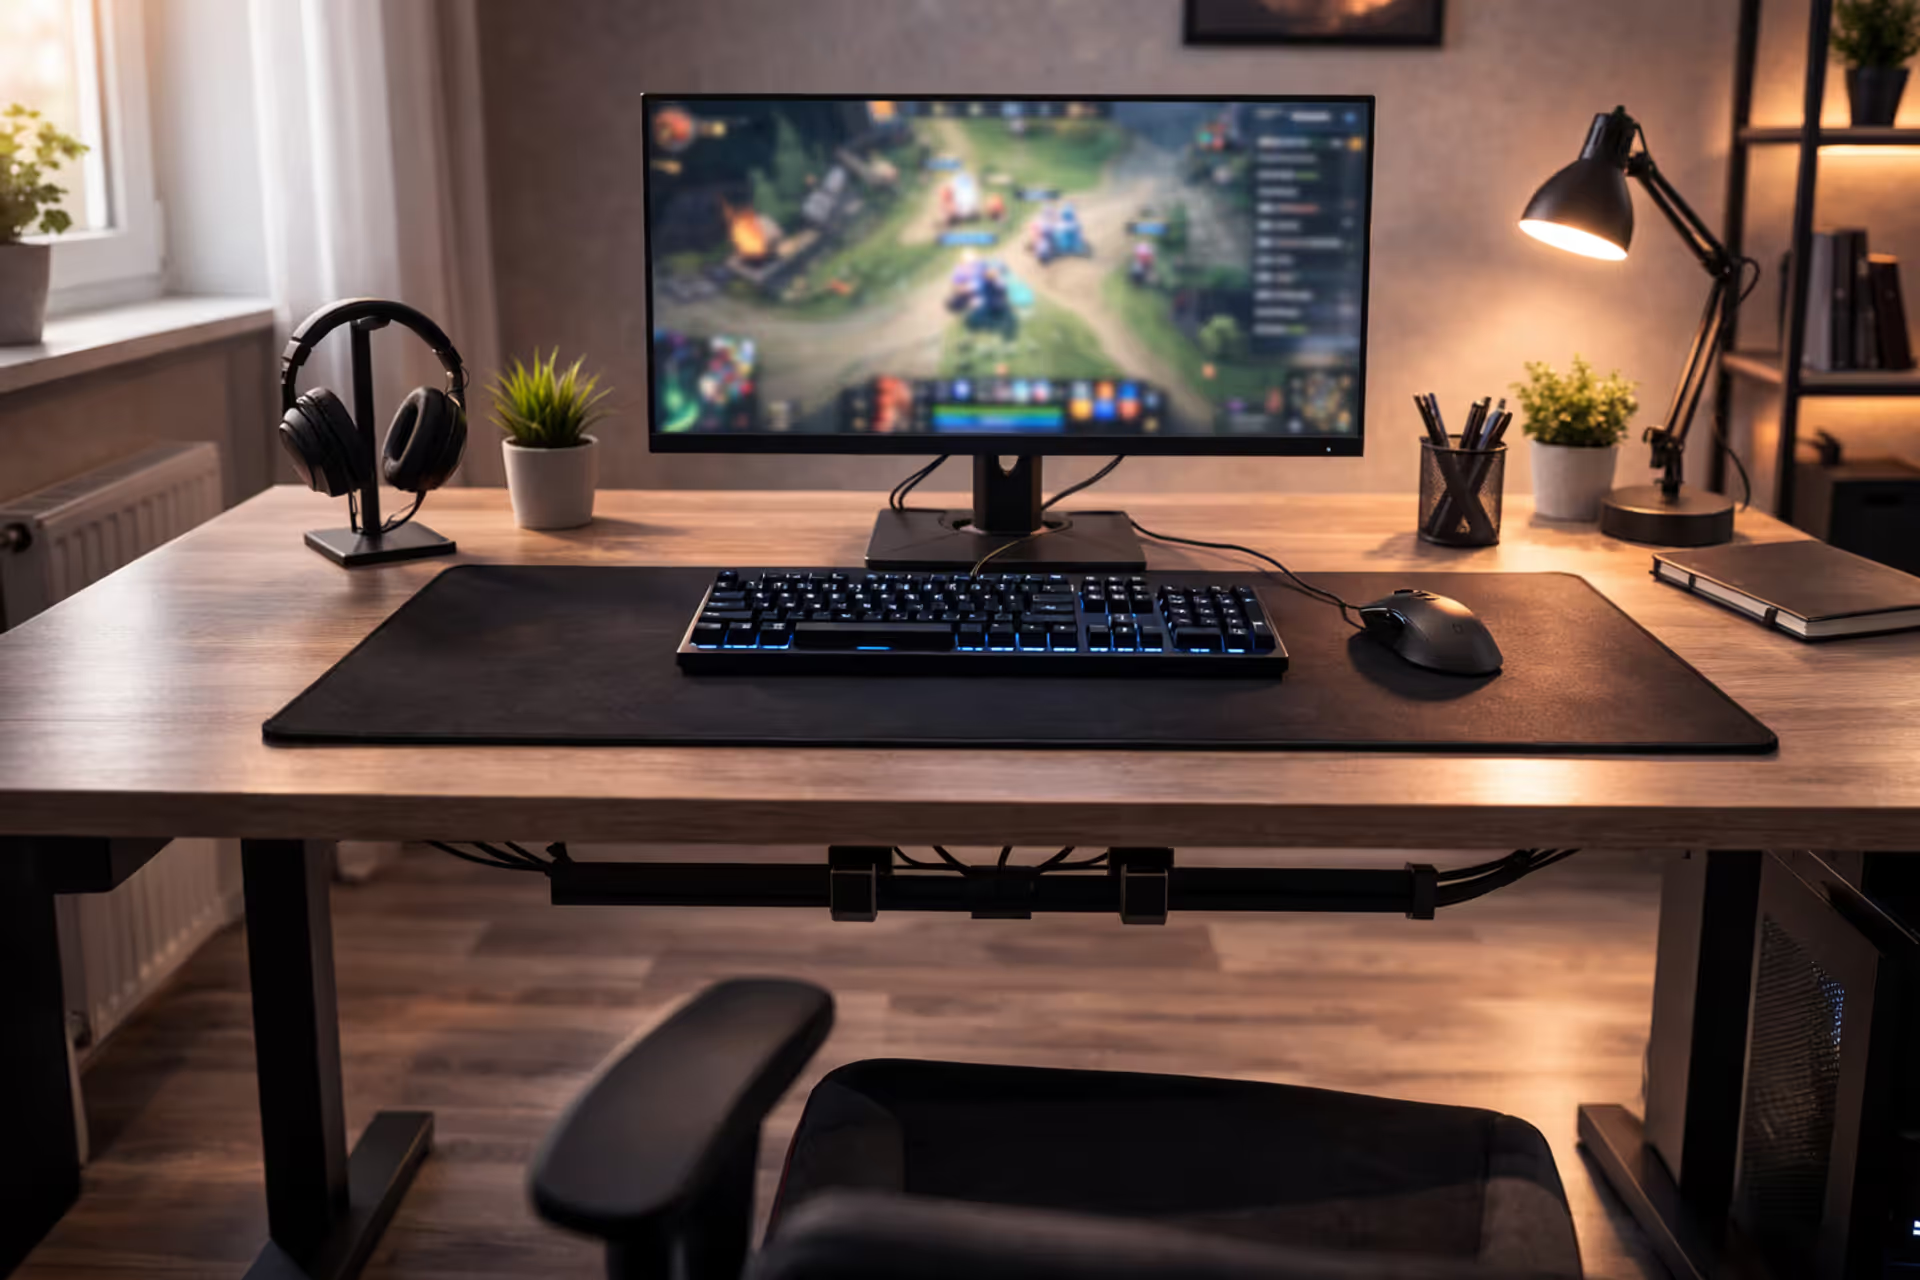
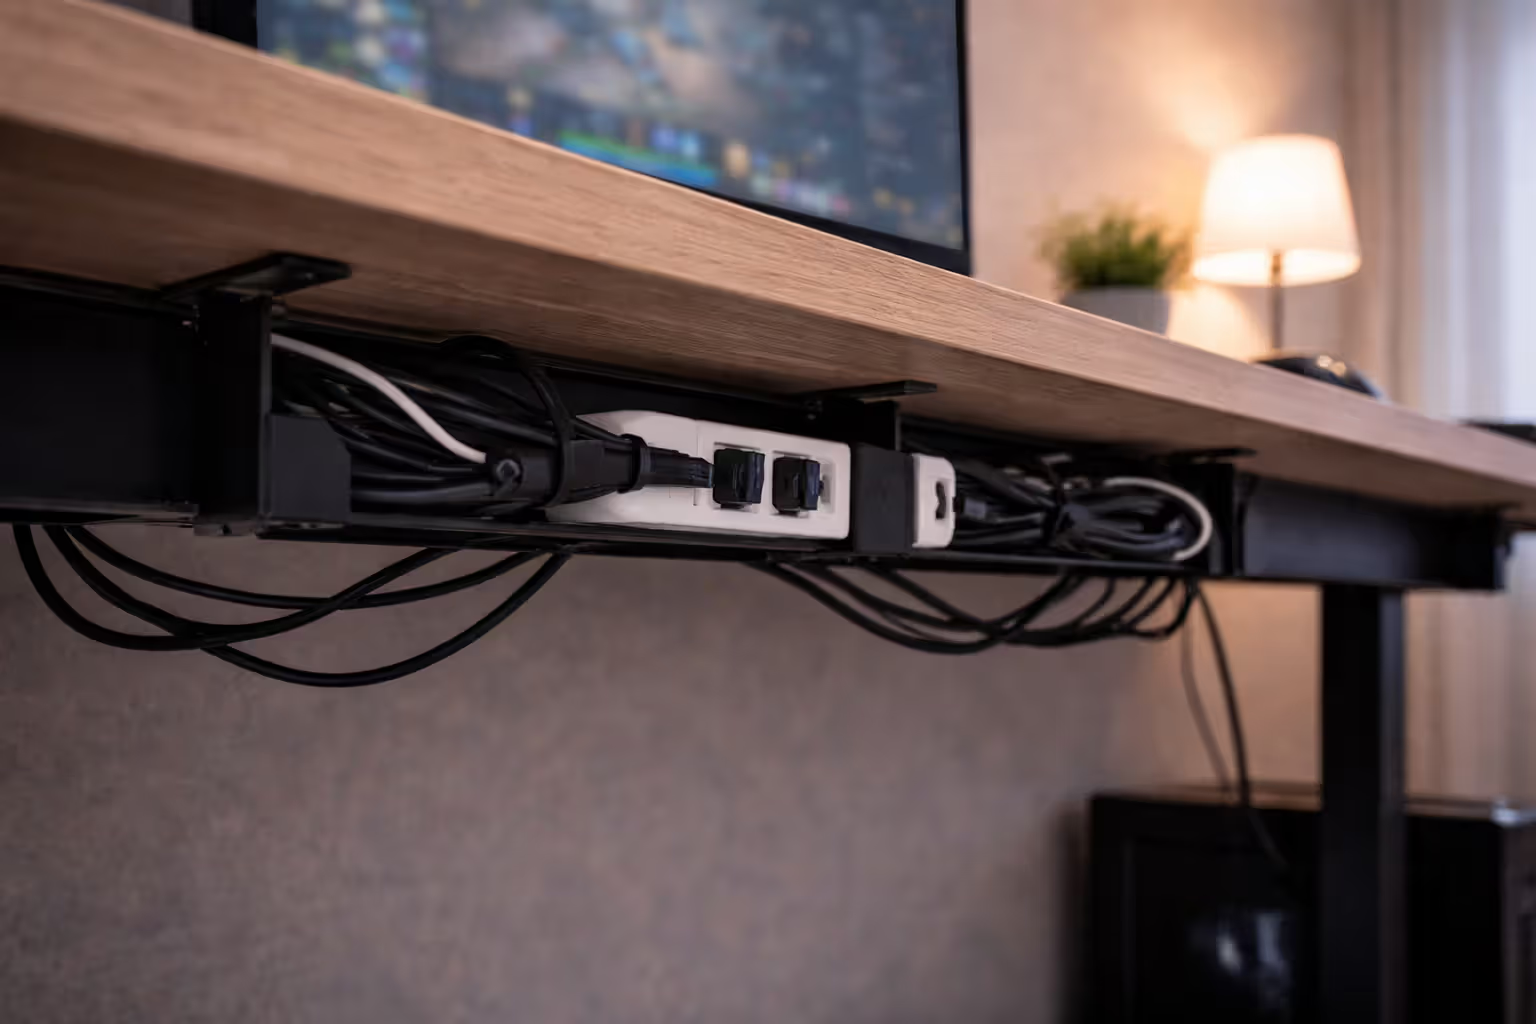
Wire mesh trays revolutionize cable chaos. Mount one under your desk—J-channel style that's open on one side works best—and suddenly you've got a dedicated zone for power strips, cable coils, and adapters. Nothing touches the floor. Nothing's visible. You can actually roll your chair around without snagging on cables.
Size it right: 24-inch trays handle basic single-monitor setups. Dual monitors with multiple peripherals? Go 36-48 inches. I mounted a 42-inch tray under my 60-inch desk and filled it within a month as I added gear. Mount it 2-3 inches from your desk's back edge so you can reach in without contortions.
Installation takes 20 minutes. The tray I use (IKEA Signum) attached with four screws into the desk's underside. Some models clamp on without drilling. Either way, do it before organizing cables—trying to retrofit a tray under an already-configured desk means disconnecting everything.
Plastic raceways work for permanent runs down desk legs to wall outlets. They look cleaner than exposed cables but you'll hate yourself if you need to change anything. I used raceways once, then switched peripherals and spent 30 minutes fishing new cables through sealed channels. Stick with open trays for flexibility.
Author: Megan Lewis;
Source: quantumcatanimation.com
Velcro straps vs. cable sleeves
Velcro straps handle anything you might disconnect—USB cables, monitor connections, charging cables. Buy the reusable kind with the integrated loop (one end threads through the other). I keep 20 of them in my desk drawer. Device upgrade? Unwrap, swap cables, rewrap. Takes seconds.
Cable sleeves bundle permanent runs into one clean tube. My PC sits on my desk's right side, so I sleeved all the cables running from it to my left-side peripherals. One thick black tube instead of seven individual cables snaking across. Neoprene sleeves look better than spiral wrap and don't snag on everything.
Here's my system: sleeve the main cable highway from PC to desk area, then use Velcro on individual device cables. This combo gives you clean aesthetics with actual flexibility. All-sleeve setups look great until you need to trace one problem cable, then you're unsleaving everything like untangling Christmas lights.
Power strip positioning strategies
Stick your power strip inside the cable tray, not dangling below it. Chair wheels can't hit it. Accidental kicks can't unplug everything. The reset button stays accessible. I used heavy-duty 3M mounting tape to secure mine—still holding after two years.
Position matters. Center-mounted power strips minimize cable runs to each device. I mounted mine slightly right-of-center (under where my PC sits) since most devices live on that side. Putting it at one end means cables stretch across the full desk width, which looks messy and wastes cable length.
Label each outlet. Sounds excessive until you need to power cycle one device and you're staring at eight identical black cables. I used a label maker—"Monitor," "Speakers," "USB Hub," etc. Now I can unplug the right thing without playing cable Jenga.
Desk Ergonomics: Preventing Pain During Marathon Gaming Sessions
Correct monitor height and viewing distance
Default monitor stands position screens too high for most people. You'll tilt your head back slightly, which seems fine until hour three when your neck's screaming. The fix: top edge at eye level for office work, but for gaming, position the center of the screen at eye level or slightly below.
Author: Megan Lewis;
Source: quantumcatanimation.com
I run a 27-inch monitor with its center about one inch below my eye level when sitting normally. During intense FPS sessions when I lean forward slightly, my eyes naturally track the screen's center. For strategy games when I'm leaning back, I'm looking slightly down, which feels natural.
Distance depends on resolution and size. My 27-inch 1440p monitor sits about 32 inches from my eyes. Closer would tire them from scanning such a wide area. Farther would lose detail. The arm's length test gives you a starting point, but adjust based on what feels right after a full session, not five minutes of testing.
Dual monitors create ergonomic headaches. If you've got a primary for gaming and a secondary for Discord/guides/whatever, put the primary dead-center and angle the secondary about 40 degrees. Using both equally? Place them symmetrically, sit centered on the gap, accept that you'll turn your head more. There's no perfect solution here.
Chair and desk height relationship
Your elbows at 90 degrees when shoulders are relaxed—that's the target. For most people, desk surfaces at 28-30 inches accomplish this. I'm 5'11" and use a 29-inch desk with a chair adjusted so my feet sit flat and my forearms rest parallel to the floor when typing.
Got a desk that's too high? Raise your chair, add a footrest. Too low? Furniture risers under the legs add 1-5 inches. I used 3-inch risers on my old desk because it measured 27 inches and felt like typing at a coffee table. The $20 risers fixed it instantly.
Gaming chairs with adjustment range help compensate for imperfect desk heights, but don't fight bad furniture too hard. If you're maxing out your chair's lowest setting and still can't get comfortable, the desk's wrong. Fix the root cause.
Armrests divide opinion. Mine come off entirely—they limit my mouse movement and I don't need them. If you keep yours, they should barely touch your forearms without lifting your shoulders or pushing them down. Most people set armrests too high, which creates shoulder tension without realizing it.
Keyboard and mouse positioning standards
Keyboard tilt matters more than most realize. Those flip-out feet on the back? They actually increase wrist strain by forcing extension. I run my keyboard completely flat, sometimes with a slight negative tilt (front edge higher than back) using a small wedge. Keeps my wrists neutral during long sessions.
Match your mouse height to your keyboard height. Thick wrist rest under your keyboard? Add something similar for your mouse hand or you'll have one arm elevated. I use a 0.5-inch keyboard wrist rest with a matching mouse wrist rest. Both arms stay level.
Pull everything closer than you think necessary. If you're reaching forward to type, sliding your shoulders forward, leaning in—your gear's too far away. Elbows should stay near your sides, forearms roughly parallel to the floor. Slide that keyboard right up to the desk edge if needed.
Workspace Optimization for Small and Large Setups
Corner desk vs. straight desk configurations
Corner desks eat two walls but unlock dead space that'd otherwise hold a lamp. The L-shape naturally separates activities—gaming on one leg, productivity on the other. I ran a corner setup for three years and loved having dedicated zones. Downside? You're facing a wall, and moving furniture requires a complete room reconfiguration.
Straight desks offer flexibility that corner setups can't match. Want to face a window? Move it. Need to stream with a background? Turn it around. They're lighter, easier to move, and typically cheaper. For rooms under 120 square feet, a 60-inch straight desk often provides more usable space than a corner setup consuming two walls.
Choose corners when you legitimately need two distinct work areas. If you're just gaming, the corner wastes space you could use for other furniture. My current setup's a straight desk—simpler, easier to optimize, doesn't force me to stare at wall corners all day.
Vertical space utilization (shelves, pegboards, monitor arms)
Wall shelves above your desk hold gear without stealing surface space. I mounted two floating shelves 20 inches above my desk—one holds speakers, the other has my router and some collectibles. High enough to clear my head and monitor, low enough to reach without standing.
Pegboards transformed my wall storage. A 2x4 foot section beside my desk holds headphones, spare cables, USB adapters, allen keys for adjusting gear, and a small flashlight for seeing behind equipment. Cost $30 total with hooks. Way better than digging through drawers when I need something specific.
Monitor arms deliver the biggest space savings. Removing my monitor's stand freed up probably 80 square inches. I pushed my keyboard back six inches, which improved my arm positioning and created room for notebooks or a drink without crowding my mouse space.
Combine all three—shelves, pegboards, arms—and your desk surface stays clear while everything remains accessible. My "active gaming" surface now holds only keyboard, mouse, mousepad, and a coaster. Everything else moved vertical.
RGB lighting placement without clutter
LED strips under your desk's back edge create that floating desk effect without glare. I ran a 6-foot strip along the back, angled slightly downward at the wall. Gives ambient backlight that looks good on camera without shining in my eyes or reflecting off my monitor.
Bias lighting behind monitors reduces eye strain when gaming in dark rooms. The contrast between bright screen and dark wall tires your eyes faster. A simple LED strip at neutral white (around 6000K) balances the lighting. RGB strips work too, but white's better for extended use. Save the color modes for when friends are over.
Syncing RGB across devices sounds cool until you're juggling three different software suites. My keyboard runs Razer Synapse, my case fans use Corsair iCUE, and my strip uses its own app. They never quite match. Now I just set everything to the same color manually and call it good enough. OpenRGB software can unify some ecosystems if you want to rabbit hole that project.
Common Gaming Desk Setup Mistakes (And How to Avoid Them)
Shopping for desks based on photos instead of dimensions happens constantly. That minimalist setup you saw on Reddit? Probably a 72-inch custom build, not the 48-inch Ikea desk you're eyeing. Check actual measurements against your monitor width, your room dimensions, your chair clearance. I bought a desk that looked perfect online, got it home, and realized my chair arms hit the drawer unit. Returned it, measured properly, problem solved.
Cable routing down the center-back creates a wrist-thick bundle that prevents flush wall mounting. Split your cables—run PC-side cables down the right leg, peripheral-side cables down the left leg. Distributes the bulk and looks cleaner from every angle. I rerouted my cables this way and gained three inches of space against the wall, enough to actually use my desk's rear cable grommet.
Installing lighting as an afterthought means running new cables through your finished cable management. Plan lighting during initial setup. Run the LED strip power cable through your cable tray before organizing everything else. My first setup ignored lighting, then I spent two hours dismantling my cable system to add one LED strip. Learned that lesson.
Floor-placed PCs on carpet choke on debris and dust. If floor placement can't be avoided, get a wooden board or PC stand to raise it 3-4 inches. I used a $15 furniture dolly under my old case—kept it off carpet, added wheels for easy moving, and airflow improved noticeably.
USB cables matter more than you'd expect. That 15-foot "USB 3.0" cable you bought for $5? Probably trash-tier wire gauge that'll cause disconnects. I fought phantom peripheral issues for weeks before realizing my cheap long cables couldn't maintain signal. Switched to proper 24-gauge cables for USB 2.0 devices and 22-gauge for USB 3.0, problems disappeared.
Budget Breakdown: What to Spend vs. What to Save On
| Component | Budget Option ($) | Mid-Range ($) | Premium ($) | What You Get at Each Level |
| Desk | 100-150 | 250-400 | 500-800 | Budget gets you particle board with size limitations. Mid-range brings solid wood or quality laminate with better dimensions. Premium means electric standing desks or custom butcher block surfaces. |
| Chair | 150-200 | 300-450 | 600-1200 | Budget covers basic ergonomic features that'll wear in 2-3 years. Mid-range delivers genuine lumbar support and quality materials lasting 5+ years. Premium brings Herman Miller or Steelcase with lifetime warranties and every adjustment imaginable. |
| Monitor Arm | 30-50 | 80-120 | 150-250 | Budget arms hold single monitors with limited range. Mid-range gets gas springs, smooth adjustments, integrated cable management. Premium handles dual monitors or ultra-heavy displays with extended reach. |
| Cable Management | 20-30 | 40-60 | 80-120 | Budget means Velcro straps and adhesive clips. Mid-range adds under-desk trays, sleeves, and organization systems. Premium brings custom raceway systems with integrated power routing. |
| Lighting | 15-25 | 40-70 | 100-200 | Budget LED strips work but offer single colors. Mid-range brings RGB with remote controls and basic sync. Premium delivers smart lighting with app control and ecosystem integration. |
| Peripherals | 100-150 | 300-500 | 800-1500 | Budget gets functional gaming keyboard, mouse, and headset. Mid-range brings quality gaming peripherals with software customization. Premium unlocks wireless ecosystems, premium switches, and studio-grade audio. |
Put money into desk and chair first—they're foundations that last years. My $400 solid wood desk is seven years old and still perfect. That $150 particle board desk I started with warped in 18 months.
Save money early on RGB and premium peripherals. A $20 LED strip provides 85% of the ambiance of $150 smart lighting. The difference between a $100 mechanical keyboard and a $200 one is minimal compared to desk and chair quality gaps. Upgrade these later when you've got the foundation right.
Monitor arms punch above their price. Even budget builds benefit from that $40 investment more than from $40 spent on RGB fans or fancy mousepad materials. The functional improvement—desk space, positioning flexibility—outweighs aesthetic upgrades every time.
Most gaming injuries don't come from intense moments—they develop from hours of slightly incorrect positioning that accumulates into chronic problems. A desk setup isn't about looks. It's about whether your body can maintain the position for six hours without developing strain patterns that'll hurt you for years. I've treated professional gamers with serious RSI from setups that photographed beautifully but positioned their wrists, necks, and backs wrong for sustained use.
— Dr. Sarah Chen, Occupational Ergonomics Specialist, Cornell University Human Factors and Ergonomics Research Group
Frequently Asked Questions About Gaming Desk Setups
Gaming desk setups evolve rather than appearing perfect on day one. You'll start with fundamentals—correct desk size, reasonable monitor positioning, basic cable organization—then refine details as you discover what works for your games, your body, your space.
First-iteration mistakes teach valuable lessons. That monitor you mounted too high? You'll adjust it after one headache-filled session. Those cables you thought were organized? You'll redo them when adding your third peripheral. The lighting that seemed perfect? You'll reposition it when glare hits during afternoon gaming. Each adjustment brings you closer to a setup that becomes invisible during use.
Prioritize function over photos. A desk that looks incredible on Instagram but hurts your neck after two hours fails completely. The best gaming spaces go unnoticed—everything sits exactly where your hand expects it, cables never snag, nothing disconnects mid-match, and you game for hours without stiffness.
Measure twice, mount once. Spend the extra 30 minutes planning cable routes, marking mounting positions, verifying clearances before drilling or adhering anything permanently. Saves hours of rework when you discover your monitor arm blocks drawer access or your cable tray interferes with chair armrests.
Build your setup for your reality—your posture, your gear, your habits. Copying someone else's configuration rarely works because they have different body dimensions, play different games, use different equipment. The perfect setup disappears into the background, letting you focus entirely on gameplay instead of workspace frustrations.