How to Build the Perfect Gaming Setup: A Complete Guide for Every Budget
How to Build a Gaming Setup?

Content
Building a gaming setup isn't about maxing out your credit card on RGB-covered gear. Most people waste money on flashy components while ignoring basics like desk height or monitor distance—then wonder why they get neck pain after two-hour sessions. A functional setup balances equipment quality, spatial arrangement, and ergonomics to support long gaming sessions without discomfort or performance bottlenecks.
The difference between a $500 setup and a $5,000 one often comes down to diminishing returns. You'll see massive improvements going from a folding table and office chair to a proper desk and ergonomic seat. Beyond that, upgrades matter less than how you arrange what you have. Cable rats' nests, monitors placed too high, and poor lighting cause more problems than mid-tier hardware ever will.
What Makes a Gaming Setup Actually Work
Three elements separate functional setups from money pits: spatial efficiency, component synergy, and maintenance accessibility.
Spatial efficiency means your most-used items sit within arm's reach. Mouse, keyboard, and primary monitor form a triangle where your hands and eyes move minimally. Secondary monitors angle inward at 15-30 degrees. Your chair rolls freely without snagging cables. You can stand up without bumping your knees on the desk underside.
Component synergy addresses how gear works together. A 240Hz monitor means nothing if your GPU pushes 60fps. Studio-quality microphones pick up mechanical keyboard clatter unless you add a noise gate or switch to quieter switches. Wireless peripherals reduce cable mess but introduce charging routines and potential latency.
Maintenance accessibility gets ignored until something breaks. Can you reach power strips without moving furniture? Are cable channels removable for upgrades? Does dust accumulate in unreachable corners? Setups that look clean in photos often become nightmares when you need to swap a single cable.
Author: Brandon Hayes;
Source: quantumcatanimation.com
Lighting deserves special mention because most people get it backward. Bias lighting behind monitors reduces eye strain more than any "gaming glasses" gimmick. Overhead lights cause screen glare. The goal isn't mood lighting—it's reducing the contrast between your bright monitor and dark surroundings. A $15 LED strip behind your desk does more for comfort than $200 RGB fans inside a case you don't look at while playing.
Cable management isn't about aesthetics. Tangled cables create dust traps, limit airflow around equipment, and turn simple upgrades into hour-long untangling sessions. Manage cables during initial setup, not as an afterthought.
Choosing Your Desk and Chair: The Foundation That Matters Most
Your desk and chair determine whether you game comfortably for hours or quit with back pain after thirty minutes. These two purchases matter more than any peripheral upgrade.
Desk dimensions and surface area requirements
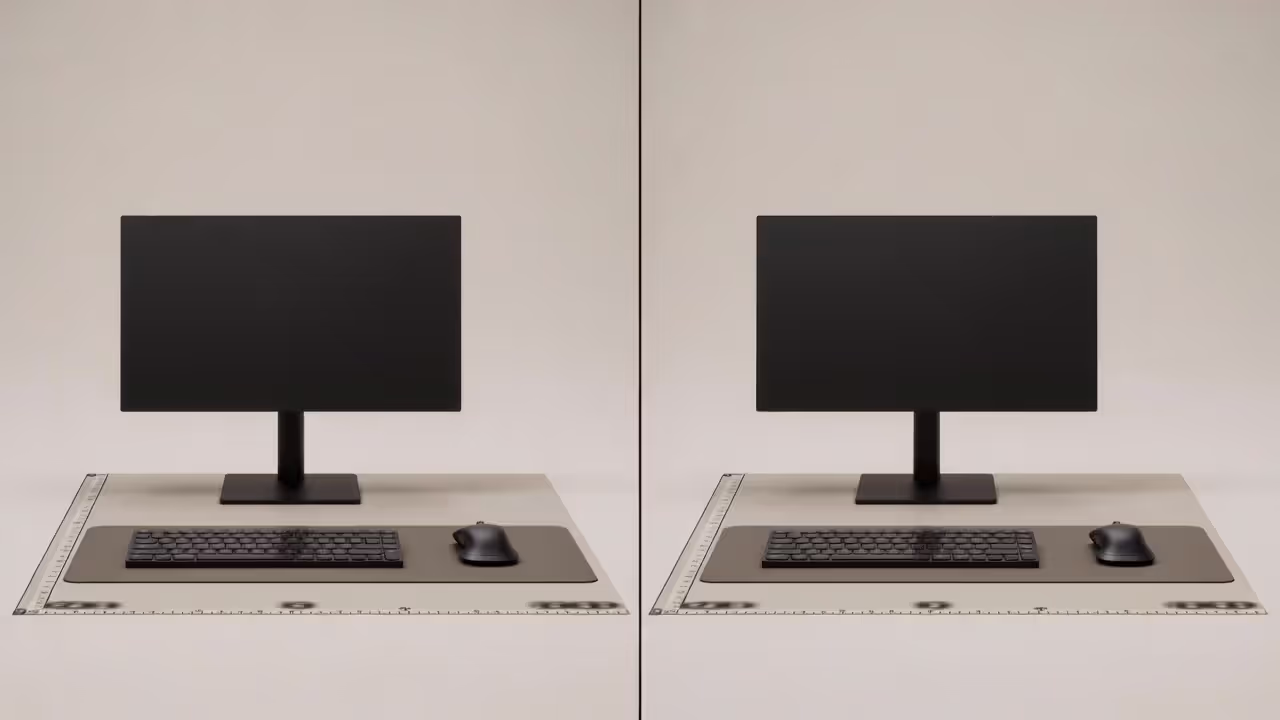
Minimum viable desk size for a single-monitor gaming setup: 48 inches wide, 24 inches deep. That accommodates a 27-inch monitor, full-size keyboard, and mouse pad with elbow room. Go deeper—30 inches—if you use monitor arms or want speakers behind your keyboard.
Dual-monitor setups need 60 inches minimum. Triple monitors demand 72+ inches unless you stack vertically or use ultra-wide displays instead. Measure your room first; a desk that's technically large enough but leaves no walking space creates a cramped, uncomfortable environment.
Desk height matters more than most realize. Standard desks sit at 29-30 inches. If you're under 5'6" or over 6'2", that height forces awkward arm angles. Your elbows should bend at 90 degrees with forearms parallel to the floor when typing. Adjustable-height desks solve this but add $200-500 to your budget.
Surface material affects durability and feel. Laminate particleboard costs least but sags under heavy monitor arms and shows wear quickly. Solid wood handles weight better but costs more and can warp in humid environments. Butcher block offers a middle ground—sturdy, repairable, and affordable if you buy unfinished and seal it yourself.
Avoid glass desks. They look sleek but amplify mouse movement sounds on microphones, show every fingerprint, and can shatter under impact (rare, but it happens).
| Desk Type | Dimensions | Material | Price Range | Best For |
| Basic gaming desk | 48"×24" | Laminate particleboard | $100-200 | Single monitor, tight budgets |
| Standard setup | 60"×30" | Engineered wood | $200-400 | Dual monitors, most users |
| Electric standing | 60"×30" | Laminate/bamboo | $400-700 | Height flexibility, shared spaces |
| Premium solid wood | 72"×30" | Hardwood/butcher block | $600-1,200 | Multi-monitor, heavy equipment |
| Custom DIY | Varies | Solid core door + legs | $150-300 | Budget-conscious, specific sizes |
Author: Brandon Hayes;
Source: quantumcatanimation.com
Why ergonomic seating isn't optional
Cheap chairs wreck your posture. That $80 "gaming chair" with a racing seat design forces you into a forward lean that strains your lower back. After six months, the foam compresses into a lumpy mess.
Look for adjustable lumbar support—not a pillow strapped to the backrest, but built-in support that moves up and down. Adjustable armrests should move in four directions: up/down, forward/back, and angle inward/outward. Your arms should rest lightly on them without shrugging your shoulders or leaning sideways.
Seat depth adjustment matters if you're shorter or taller than average. You want 2-3 inches of space between the seat edge and the back of your knees. Too much pressure there cuts circulation and causes leg numbness.
Mesh backs breathe better than leather or fabric during long sessions. Leather looks premium but gets sweaty. Fabric holds odors over time. Mesh stays cool and lasts longer if the weave is tight enough (cheap mesh stretches out within a year).
Budget $250-400 for a chair that lasts five years. That's $50-80 per year. Compare that to replacing a $100 chair every 18 months when the hydraulics fail or foam flattens. Used office furniture stores sell $800 Herman Miller or Steelcase chairs for $300-400—better value than new "gaming" chairs at the same price.
Monitor Placement and Display Configuration Mistakes to Avoid
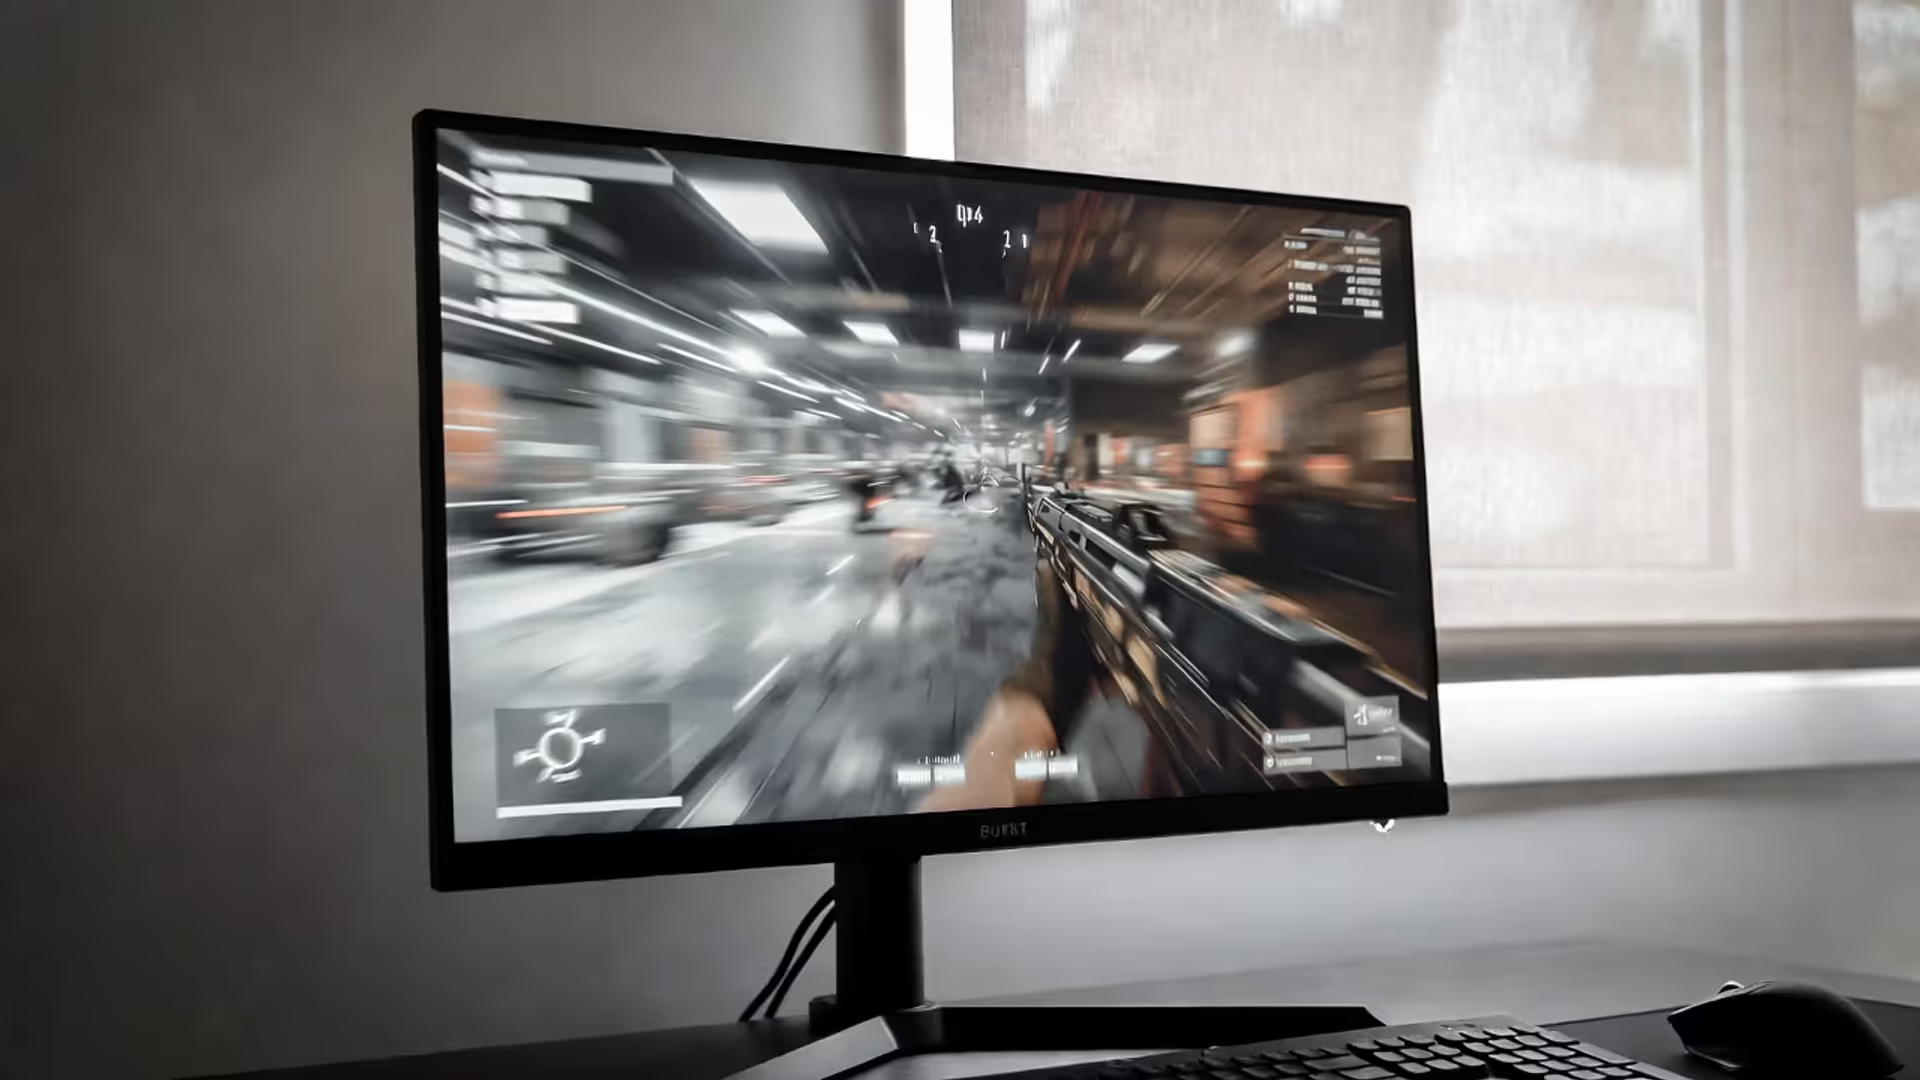
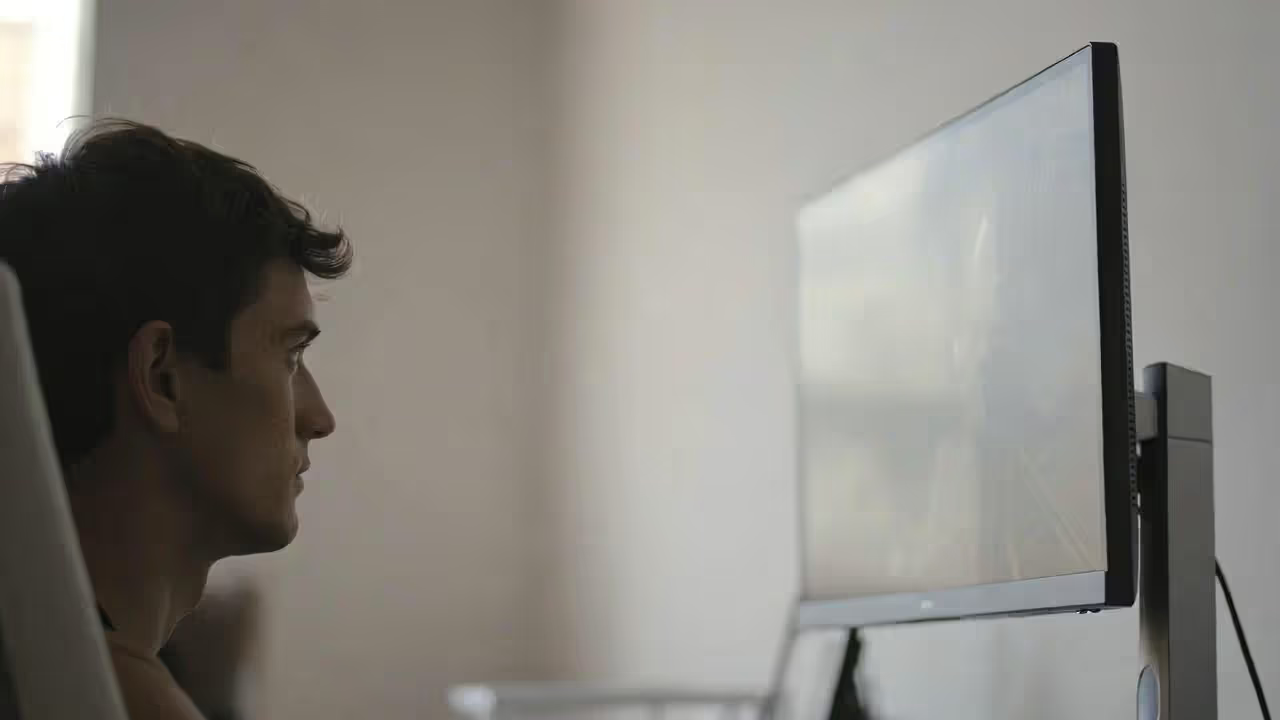
Most people place monitors too high because it "looks better" on desk setup photos. Your eyes should align with the top third of your primary monitor when sitting naturally. Looking up strains neck muscles. After a few hours, you'll feel it.
Author: Brandon Hayes;
Source: quantumcatanimation.com
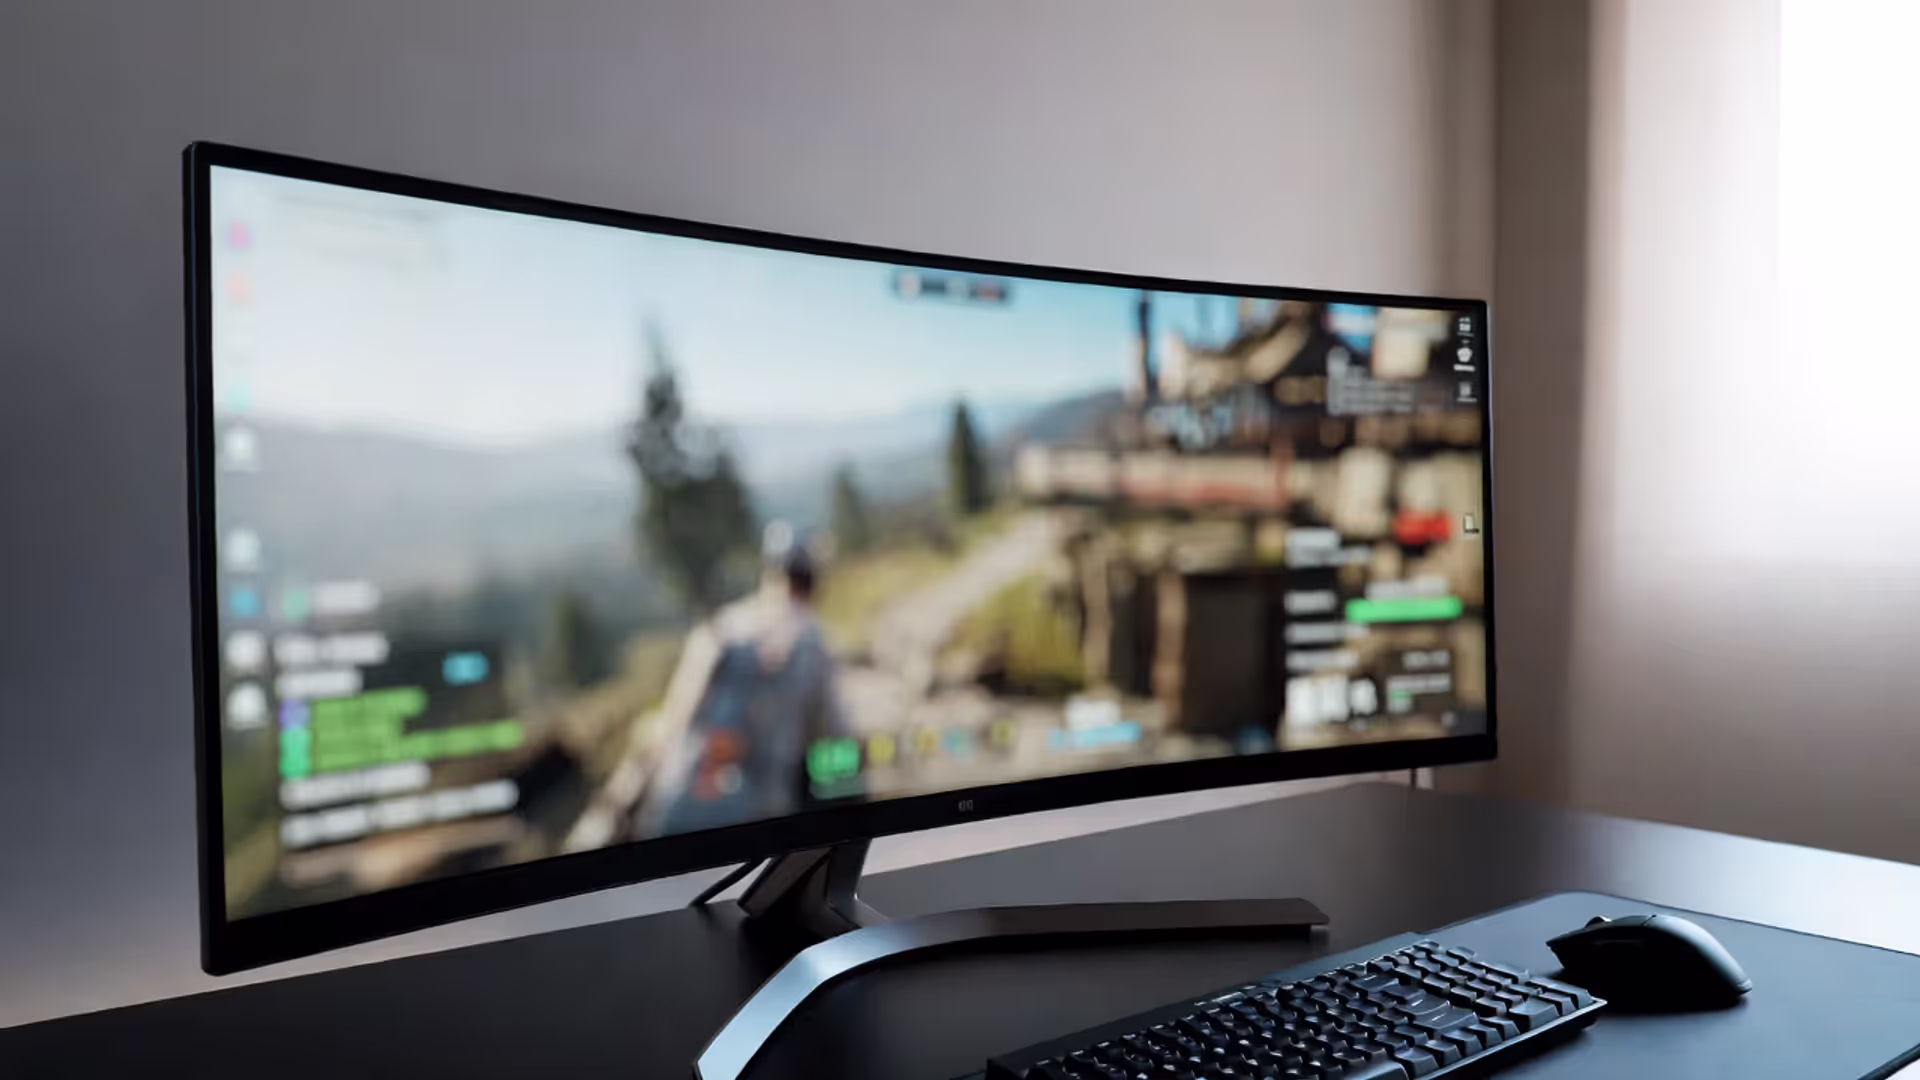
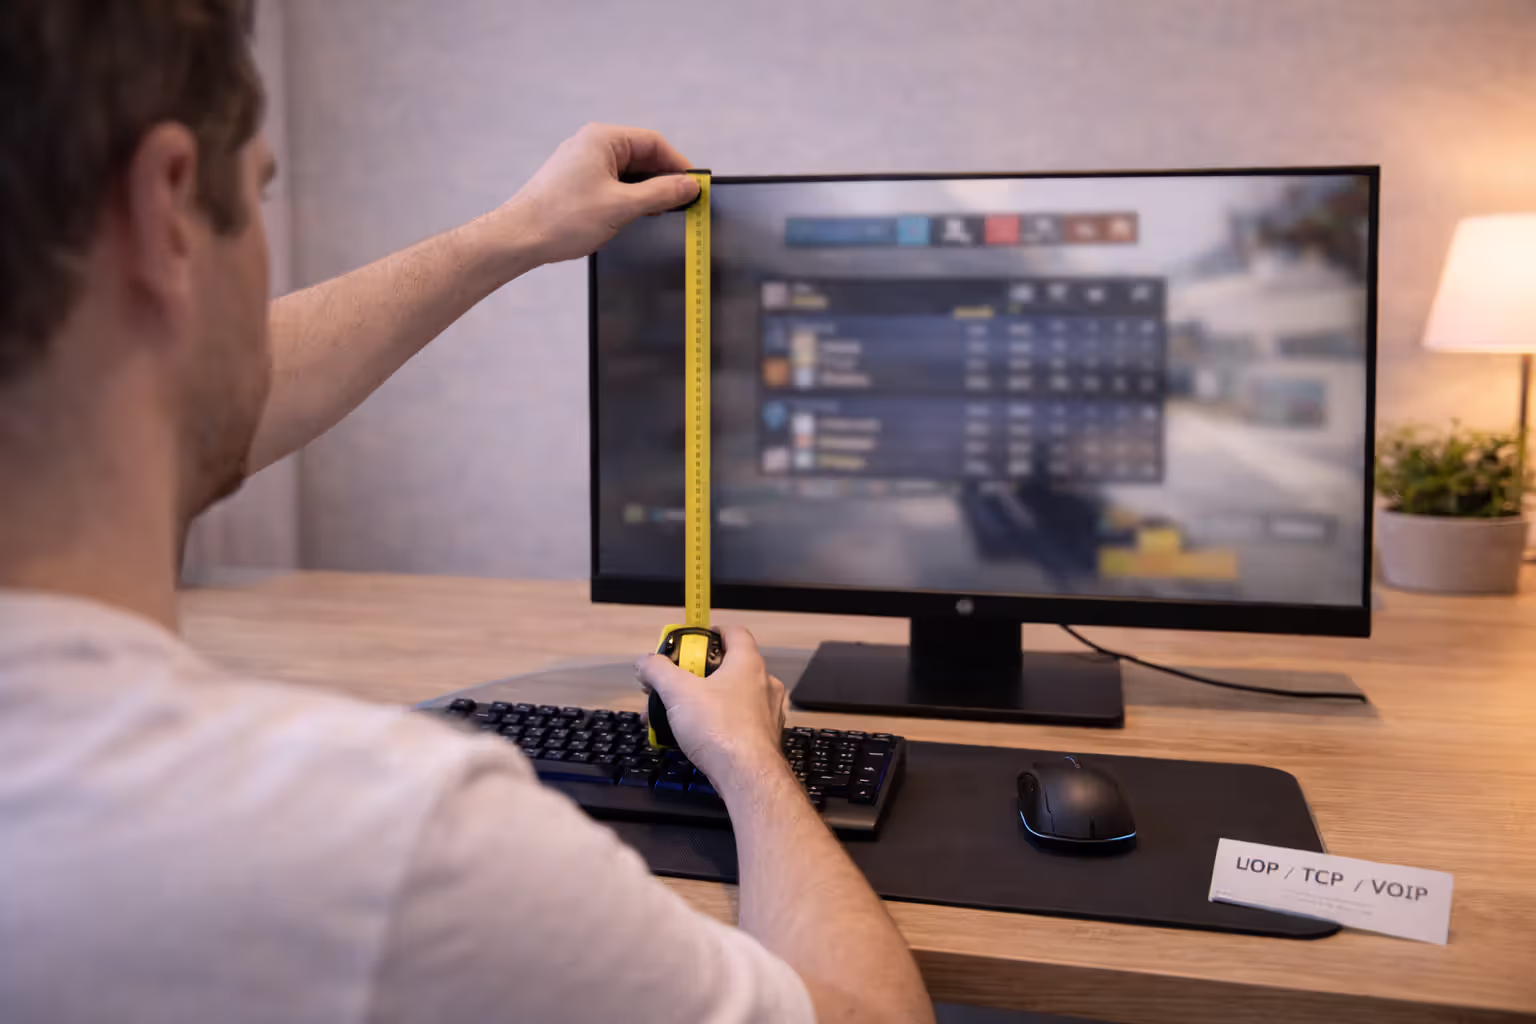
Measure eye-to-screen distance: 20-30 inches for 24-inch monitors, 30-40 inches for 27-inch, 35-45 inches for 32-inch and larger. Sit closer than this and you'll see individual pixels or need to move your head to see corners. Sit farther and you'll squint at small text.
Dual monitors work best when the primary screen sits directly in front of you and the secondary angled 30-45 degrees to the side. Placing two monitors side-by-side with the bezel gap in your center view forces you to turn your head constantly. Your neck will hate you by day three.
Triple monitor setups should curve around you. Flat arrangements put the outer screens at extreme angles. If your monitors lack curve, angle each 15-20 degrees inward. Better yet, consider a single ultra-wide instead—no bezels, easier to drive with one GPU output, and more flexible window management.
The 20-20-20 rule applies regardless of your setup quality: every 20 minutes, look at something 20 feet away for 20 seconds. Perfect monitor placement reduces strain but doesn't eliminate the need for breaks.
— Dr. Jennifer Park, Occupational Ergonomics Consultant
VESA monitor arms free up desk space and offer better positioning than stands. They cost $25-100 depending on weight capacity and adjustment range. Gas-spring arms adjust smoothly; cheaper friction-based arms require loosening and tightening knobs. If your desk has a thin edge or no clearance underneath, you'll need a grommet-mount arm instead of a clamp-mount.
Mount height matters. Install the arm so your monitor sits at proper eye level without maxing out the vertical adjustment. Leave room to raise it if you add a keyboard tray or switch to a thicker chair cushion later.
Audio and Microphone Setup for Gaming and Streaming
Headsets seem convenient—audio and mic in one package—but separate components sound better at the same price point. A $100 headset delivers $60 headphone quality and $40 mic quality. Spending $60 on headphones and $40 on a standalone mic gives you better audio and voice clarity.
For casual gaming, decent closed-back headphones (Audio-Technica M40x, Beyerdynamic DT 770) plus a $30 USB mic (Fifine, MAONO) outperform gaming headsets under $150. You can upgrade components independently later.
Streaming demands better microphone quality. Viewers tolerate mediocre video but leave streams with poor audio. USB mics like the Blue Yeti or Audio-Technica AT2020USB+ work well for beginners—plug in and go, no interface needed. They pick up keyboard noise, though. Position them 6-8 inches from your mouth, slightly off to the side, and add a pop filter.
XLR microphones (Shure SM7B, Electro-Voice RE20) plus an audio interface (Focusrite Scarlett, GoXLR) give streamers more control—compression, EQ, noise gates—but cost $300-600 total. Only worth it if you're serious about streaming quality or also record podcasts.
Acoustic treatment helps more than expensive mics. Bare walls reflect sound, creating echo and room reverb. Add foam panels or moving blankets behind and beside your mic. You don't need to cover every wall—just first reflection points. A $40 pack of acoustic foam panels improves audio more than upgrading from a $100 mic to a $200 one.
Speakers work for single-player gaming but bleed into microphones during multiplayer or streaming. If you use speakers, position them at ear level, angled toward you, and at least three feet from your microphone. Enable noise suppression in OBS or your streaming software.
Headphone amps matter only for high-impedance headphones (250+ ohms). Most gaming headphones run fine off motherboard audio or USB DACs under $100.
Cable Management and Power Solutions That Don't Look Like Chaos
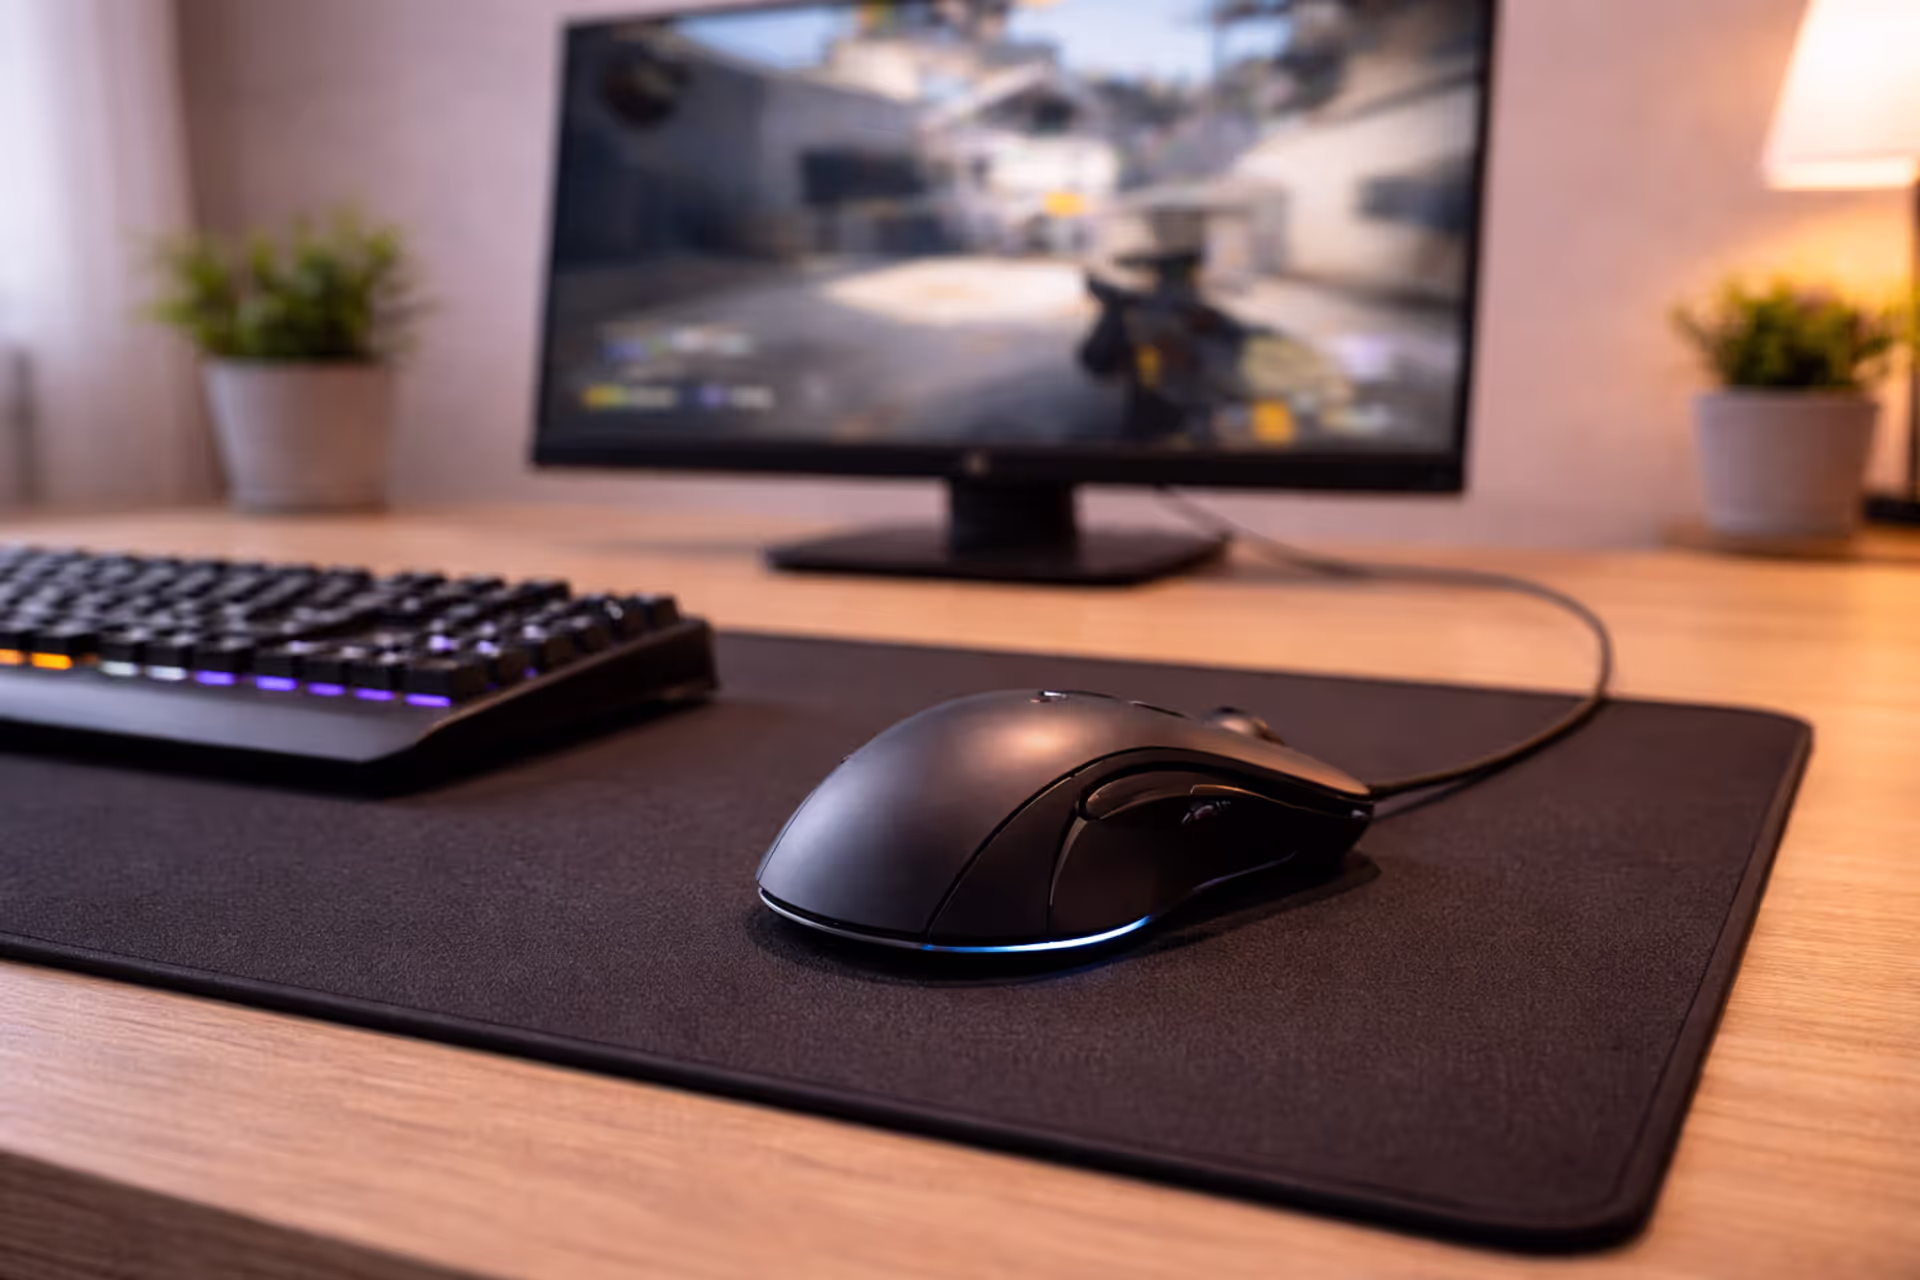
Start cable management during setup, not after. Route cables before you plug everything in. Running cables under your desk using adhesive channels or cable trays keeps them off the floor where they collect dust and get tangled in chair wheels.
Group cables by type: power cables together, USB cables together, video cables together. Use velcro straps every 12-18 inches to bundle them loosely. Zip ties work but make changes harder—you'll cut them off during upgrades and need new ones.
Raceways—plastic channels that mount to walls or desk edges—hide cables completely. They cost $15-30 for enough to manage a full setup. Stick-on versions work for renters who can't drill holes. Measure before buying; you need more than you think.
Label cables at both ends with tape or a label maker. When you need to unplug something six months later, you won't play the "which cable is this?" game. Labels save hours during troubleshooting.
Author: Brandon Hayes;
Source: quantumcatanimation.com
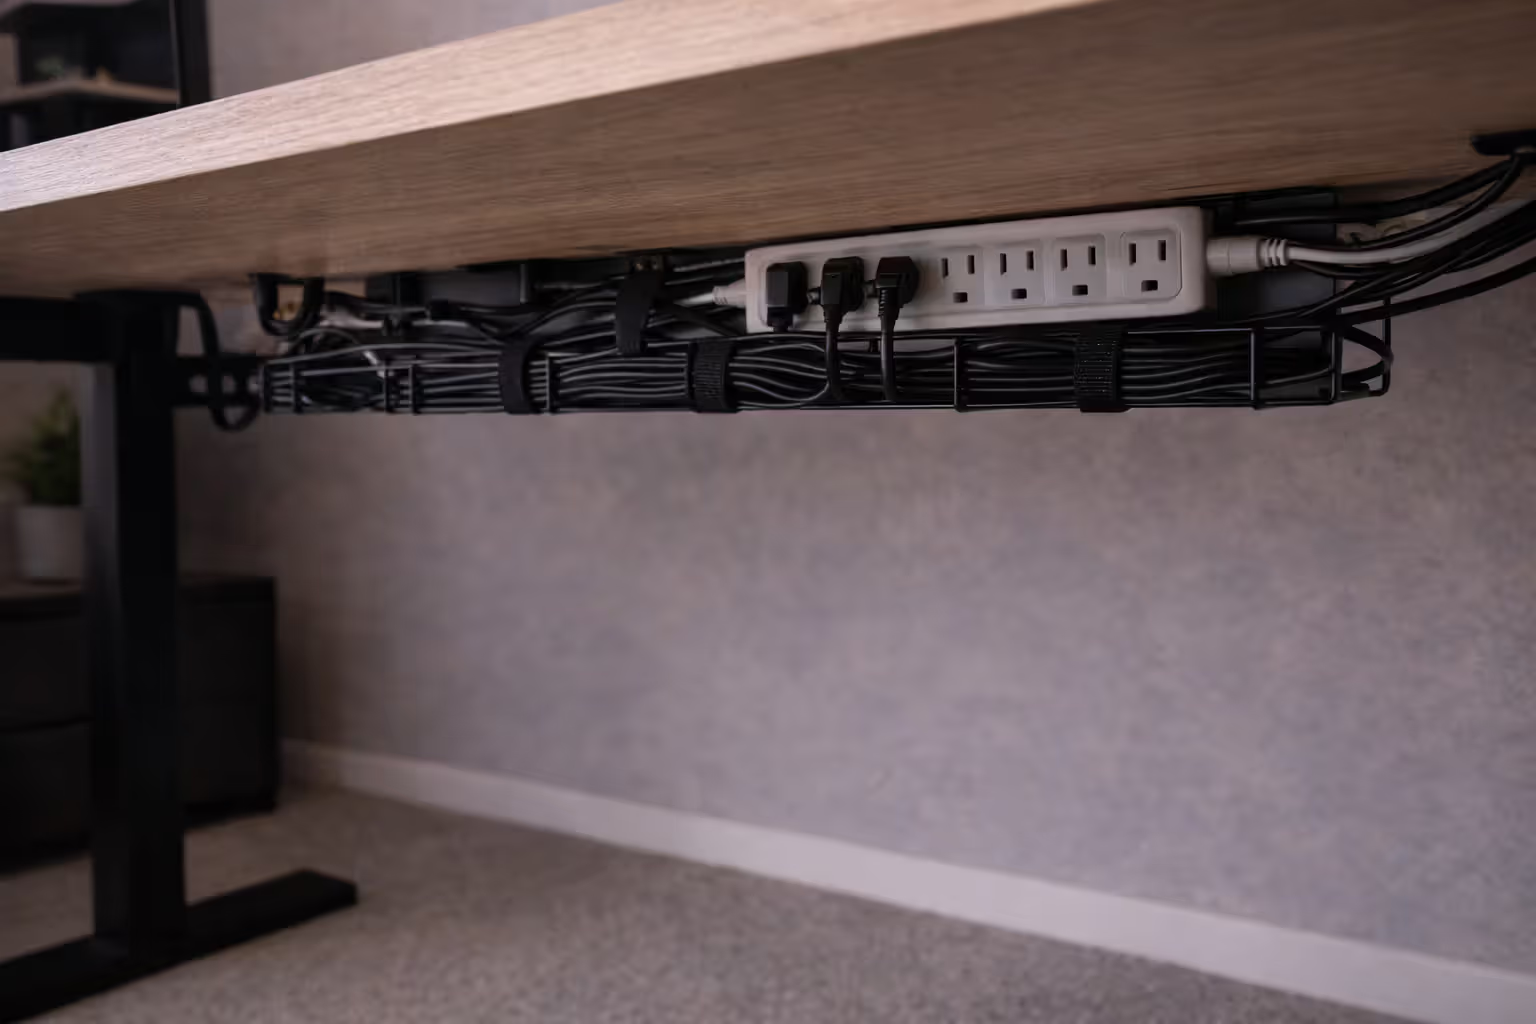
Power management prevents tripped breakers and equipment damage. Gaming PCs, monitors, and accessories draw significant power. Use surge protectors rated for at least 1500 joules. Cheap power strips offer no surge protection—check the specs.
Mount power strips under your desk using screws or heavy-duty velcro. Keeping them off the floor prevents accidental switches-off when you move your chair. Get strips with widely-spaced outlets to accommodate bulky power bricks.
Wireless peripherals reduce visible cables but add charging hassles. Wireless mice need charging every few days to weeks depending on the model. Wireless keyboards last months. Wireless headphones die mid-session if you forget to charge them. Weigh convenience against reliability.
Cable length matters. Too-short cables create tension and limit movement. Too-long cables create excess slack that tangles. Measure distances and buy appropriate lengths rather than coiling excess cable.
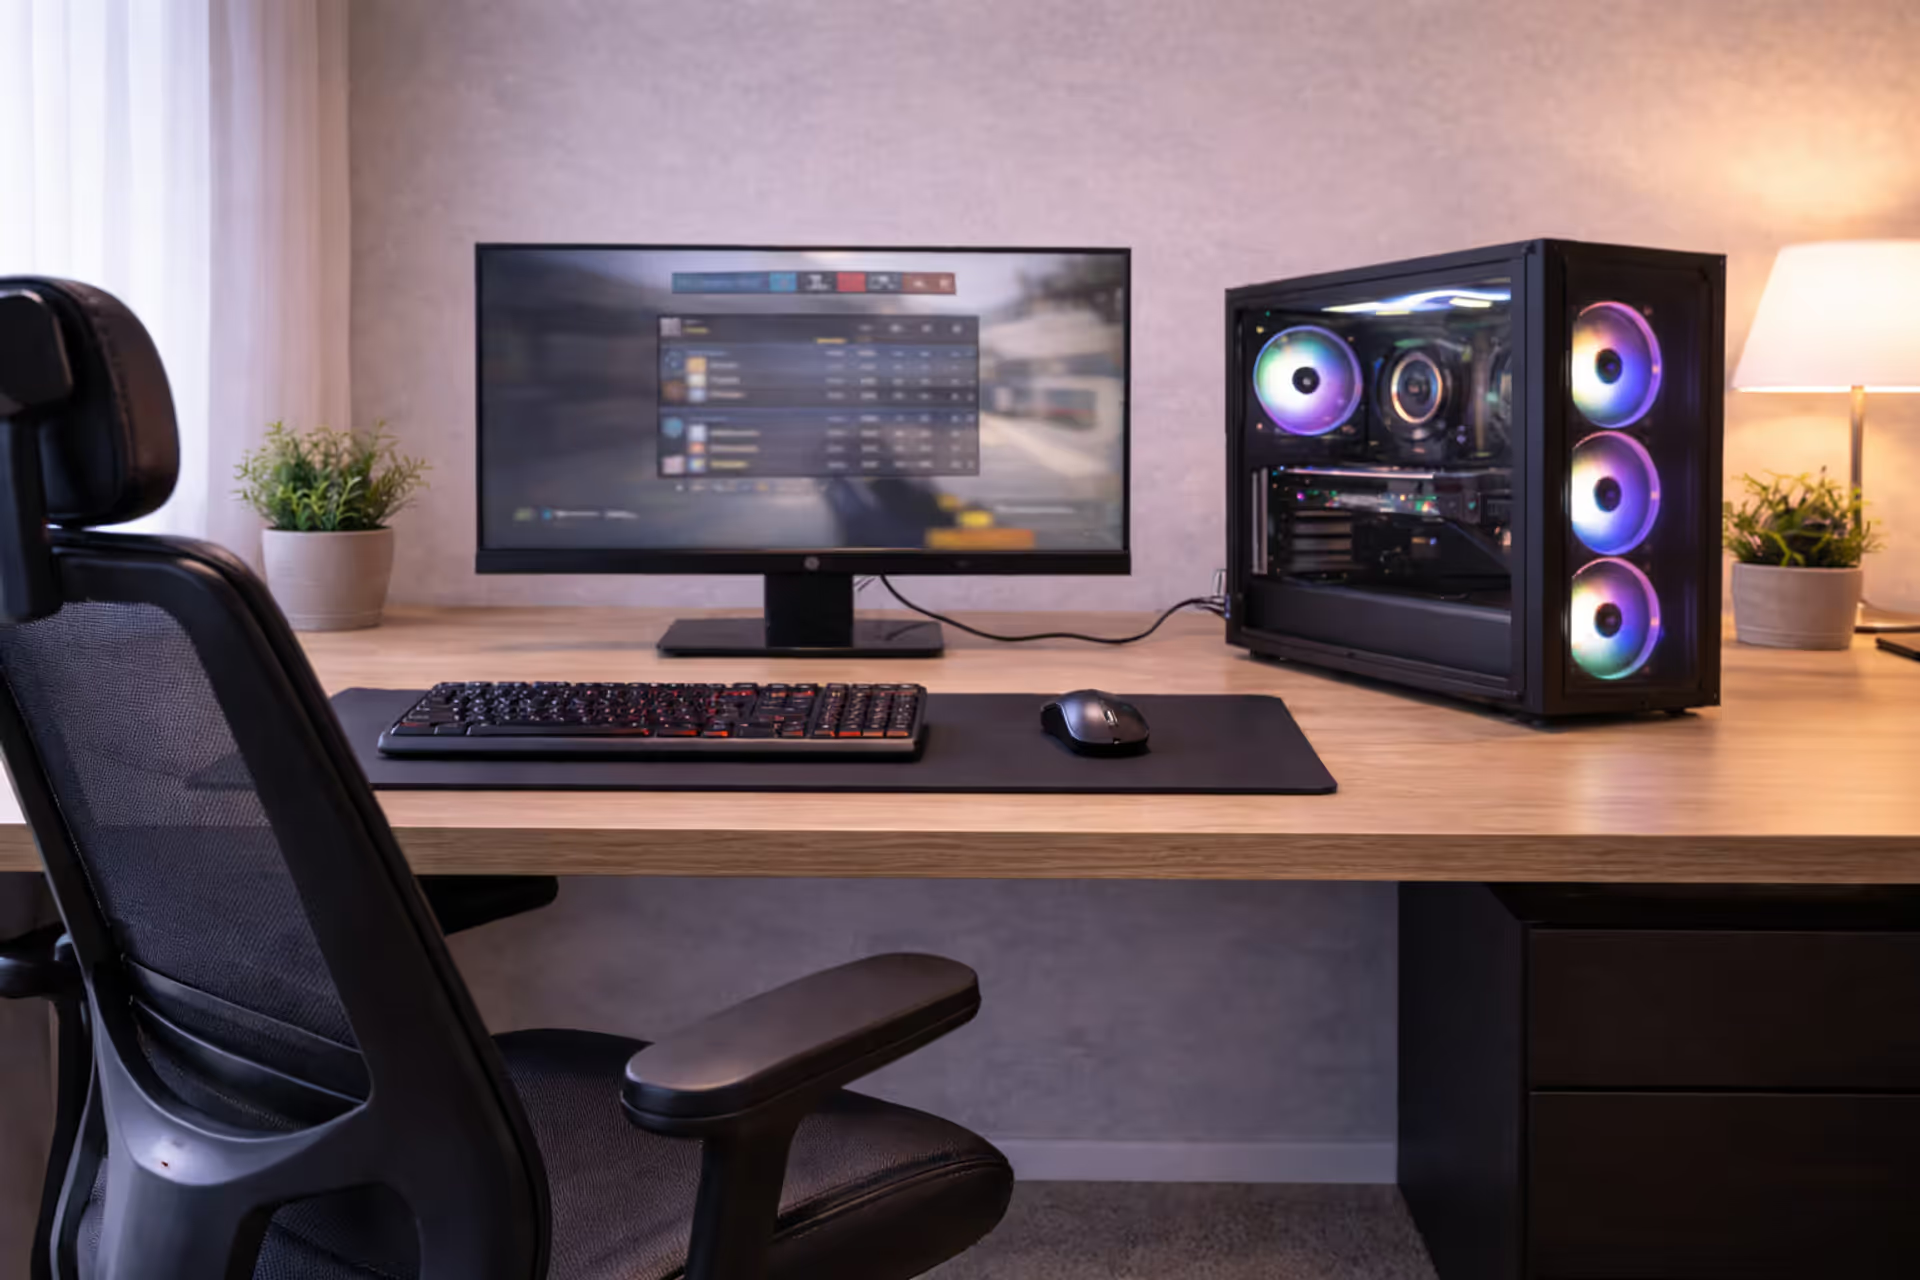
Gaming Room Layout Ideas by Space Size
Room layout affects comfort and functionality more than equipment quality. A $2,000 setup crammed into a corner with poor lighting and no ventilation performs worse than a $1,000 setup in a well-planned space.
Small bedroom setups (10×10 or smaller)
Small spaces demand vertical thinking. Wall-mounted shelves hold controllers, headphones, and games without consuming desk space. Monitor arms free up desk surface. Under-desk CPU mounts get towers off the floor.
Corner desks maximize usable surface in small rooms. They fit into otherwise-wasted space and provide more desk area than straight desks of similar footprint. Make sure you can still access the back of your PC for cable changes.
Lighting in small rooms needs care. Too much creates glare on monitors. Too little strains eyes. A single adjustable desk lamp plus bias lighting behind monitors provides enough light without overwhelming the space. Avoid overhead fixtures directly above your monitor.
Sound management matters more in small rooms. Hard surfaces—walls, floors, desks—reflect sound, making everything louder and creating echo. A rug under your chair dampens sound. Curtains or tapestries on walls absorb reflections. Your housemates or family will appreciate the effort.
Storage solutions keep small spaces organized. Drawer units under desks hold peripherals and accessories. Pegboards on walls organize cables, headphones, and controllers. Cable management becomes critical in tight spaces where clutter is more visible and harder to ignore.
Dedicated gaming room configurations
Dedicated rooms allow proper planning. Position your desk away from windows to avoid screen glare. Natural light is great for general use but terrible for gaming when it reflects off your monitor.
Multiple setups in one room need spacing. Place stations at least four feet apart so chairs don't collide. If you're streaming or recording, position setups so background noise from one doesn't bleed into another's microphone.
Ambient lighting transforms a room from "bedroom with a PC" to "gaming space." LED strips along the ceiling or behind furniture provide indirect lighting that doesn't create glare. Color temperature matters—warm white (2700-3000K) for relaxed gaming, cool white (5000-6500K) for competitive focus.
Wall treatments add personality without permanent changes. Posters, floating shelves with collectibles, or acoustic panels in interesting patterns make the space yours. If you stream, consider what appears in your background. Blank walls look boring; cluttered walls look messy. Balance is key.
Ventilation prevents equipment overheating and keeps you comfortable. Gaming PCs and monitors generate heat. A room that's comfortable at rest becomes stuffy after an hour of gaming. A small fan or opening a window makes a difference. In summer, air conditioning isn't a luxury—it's equipment protection.
Seating for friends watching or waiting their turn matters if you host gaming sessions. Bean bags, floor cushions, or a small couch turn a solo space into a social one. Position extra seating where people can see the screen without crowding the player.
Frequently Asked Questions About Gaming Setups
The perfect gaming setup doesn't happen overnight. Start with the foundation—desk and chair that fit your body and space. Add a properly positioned monitor. Get peripherals that feel comfortable, not ones that look cool in advertisements. Manage cables as you go, not as an afterthought.
Budget matters less than planning. A thoughtfully arranged $600 setup outperforms a random $2,000 collection of expensive gear. Measure your space, test equipment positioning before drilling holes or buying accessories, and prioritize comfort over aesthetics.
Upgrade based on what limits you, not what influencers promote. If you're comfortable and performing well, you don't need new gear. If something causes pain or frustration, that's your upgrade priority. Your setup should support your gaming, not become a project that distracts from it.
Most importantly, your setup is personal. What works for someone else might not work for you. Different body sizes, play styles, and space constraints demand different solutions. Use guides as starting points, then adjust based on your experience. The best setup is the one you can use comfortably for hours without thinking about it.